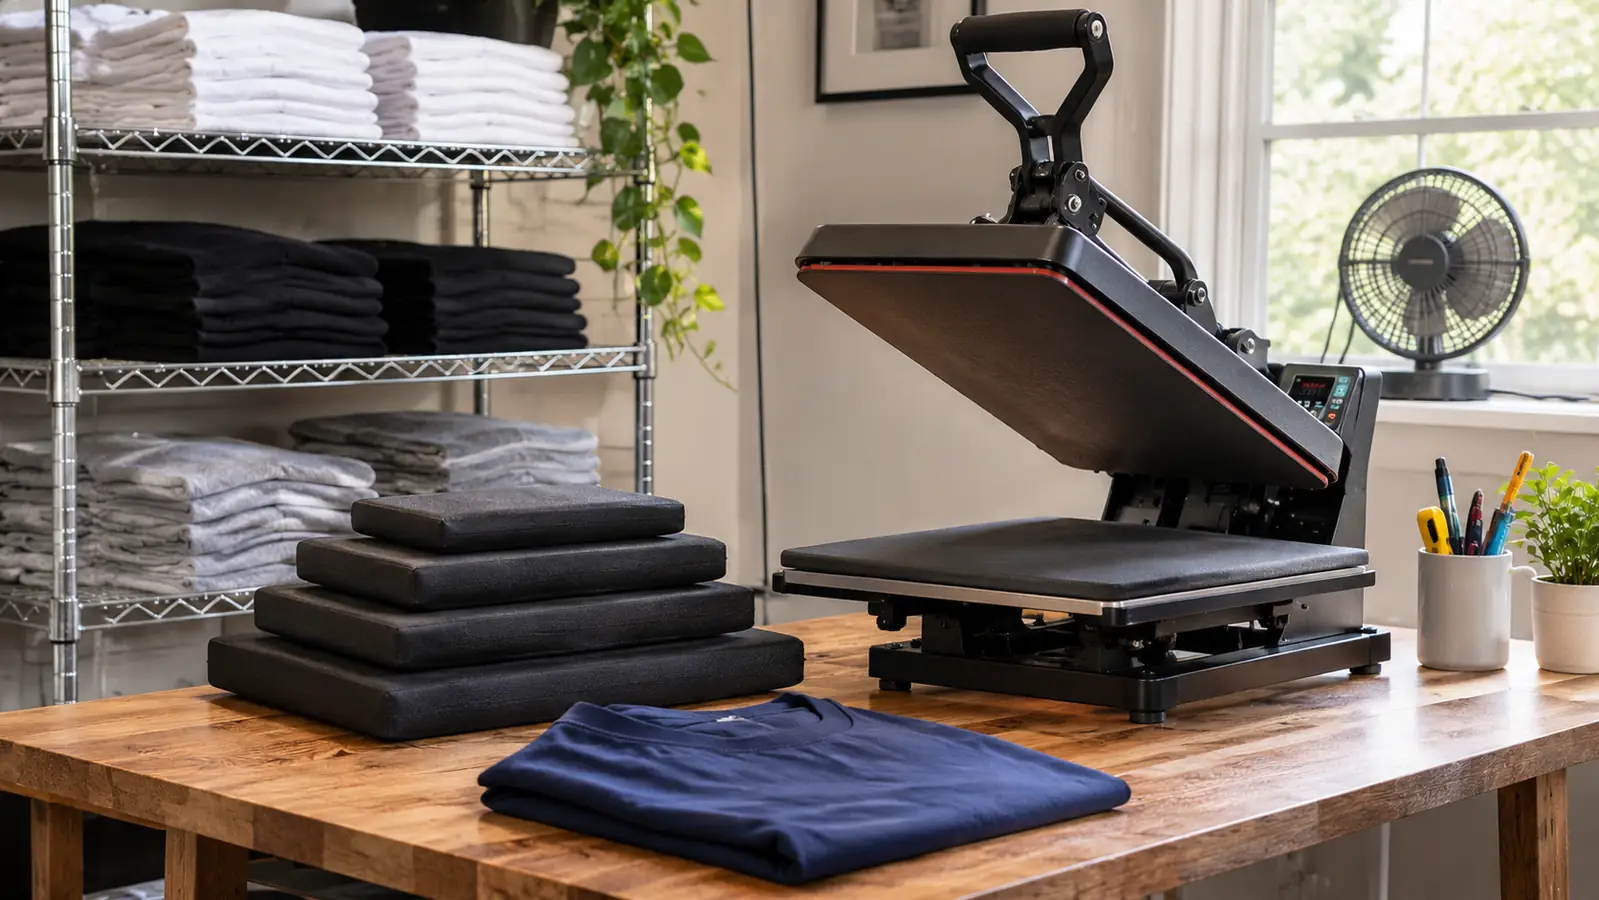
The first zip up hoodie I ever pressed came out with a crushed zipper and a pale stripe running the whole length of it. I had done everything the tutorials said. The transfer was straight, the temperature was where I always set it, and the pressure was correct. What I had not done was give the zipper teeth somewhere to go. That is the entire job of a heat press pillow, and it took me a year and a stack of ruined blanks to understand it. The set I use now is the VCHOMY 4 pack, four flat Teflon wrapped foam pads in different sizes that live on the wire shelf next to my blanks.
Here is the plain explanation. A pressing pillow goes inside the garment, or directly under a zipper or seam, and it absorbs the platen pressure in that one spot. The high points sink into the foam. The transfer still bonds. Nothing gets flattened that should not be flattened. Four years into pressing shirts in my spare bedroom, I keep all four sizes within arm's reach, and here are the ten reasons why.
Four sizes, one stack, and a zipper that stops getting crushed
The VCHOMY set covers cap fronts, youth jerseys, sleeves and full back panels. 4.8 stars from 729 reviews, rated to 600 degrees, and it stores flat on a shelf.
Amazon Check the 4 pack on Amazon →Zipper teeth sink into the foam instead of fighting the platen
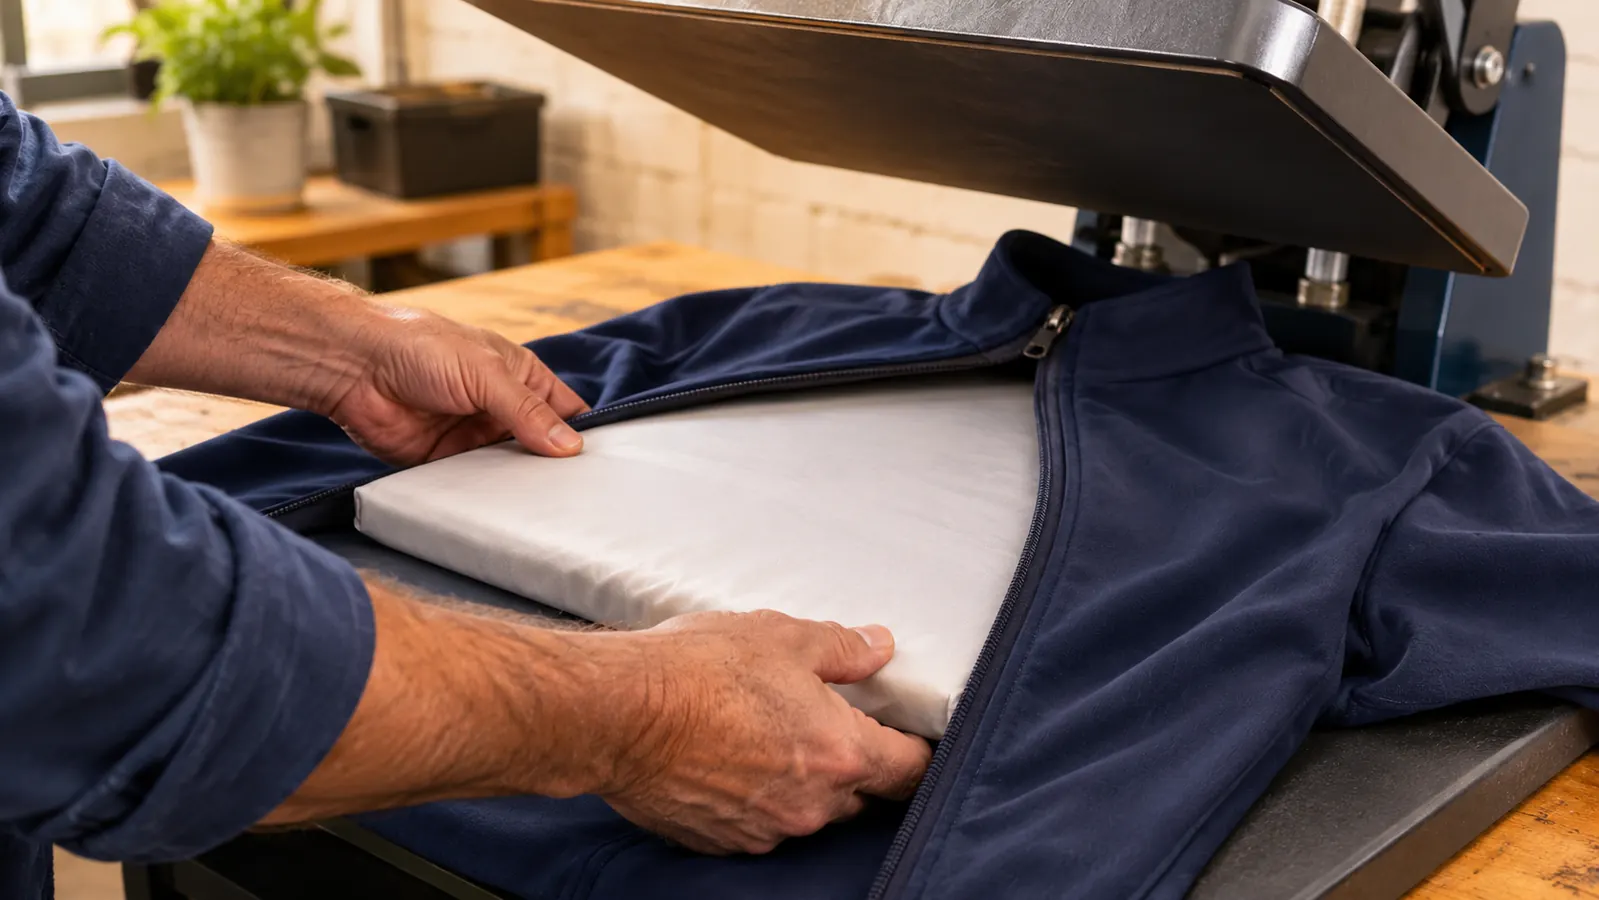
On a zip up, the zipper coil is the tallest thing on the shirt. A flat platen drives it down into the fabric below, and you get that wavy ribbon that never recovers. Slide a pillow under the zipper first and the coil has somewhere to go. The foam takes the pressure, the fabric on either side stays level, and the transfer bonds across the teeth without bending them. I lay the 5 by 15 inch pillow right along the zipper line before I close the press.
Seam lines stop printing through the transfer
Same idea, different high point. A shoulder seam, a side seam, a folded hem, anything raised will press a ridge straight through a transfer. On light shirts it reads as a shadow. On dark shirts it shows up as a thin unsealed line that lifts in the wash six weeks later. Put a pillow under the seam and the ridge disappears into the foam. The youth team jerseys I do have a seam running right across the chest, and this is the only method I have found that gets a clean bond over it.
The 5 by 5 inch pillow is the one that gets inside a cap
Caps are the reason I stopped turning down hat orders. The 5 by 5 inch pillow sits inside the crown and gives the front panel something to press against instead of collapsing into empty space. Before I had it, I stuffed caps with a rolled hand towel, which worked about half the time and left a crease the other half. The pillow is flat, it stays where I put it, and the patch lands level. Hat and cap are both listed as intended uses, and that small square is why.
The 10 by 10 inch size handles staff shirts and youth jerseys
This is the one I reach for most. It fits inside a youth medium jersey without bunching and it covers a standard front print on an adult tee. Every August I do the school staff shirts, and I slide this in, smooth the fabric over it, and press. No folded towel shifting under my hand, no lumps, no second pass because the first one came out uneven. It is the size that happens to match most of the jobs I actually get.
The 5 by 15 inch pillow runs down a sleeve or a tote handle
Sleeves are awkward because there is no room to lay the garment flat. The long narrow pillow slides down a sleeve and holds it open so the platen meets an even surface instead of a tube folded on itself. A tote handle is the same problem in reverse, four layers of canvas and webbing making a lump you cannot press through. Pillow under it, and the lump sinks. I do a run of totes for the church festival booth every spring, and this is the piece that fixed the ugly handle prints.
The zipper does not need less pressure. It needs somewhere to go.
The 12 by 15 inch pillow covers a full back panel in one pass
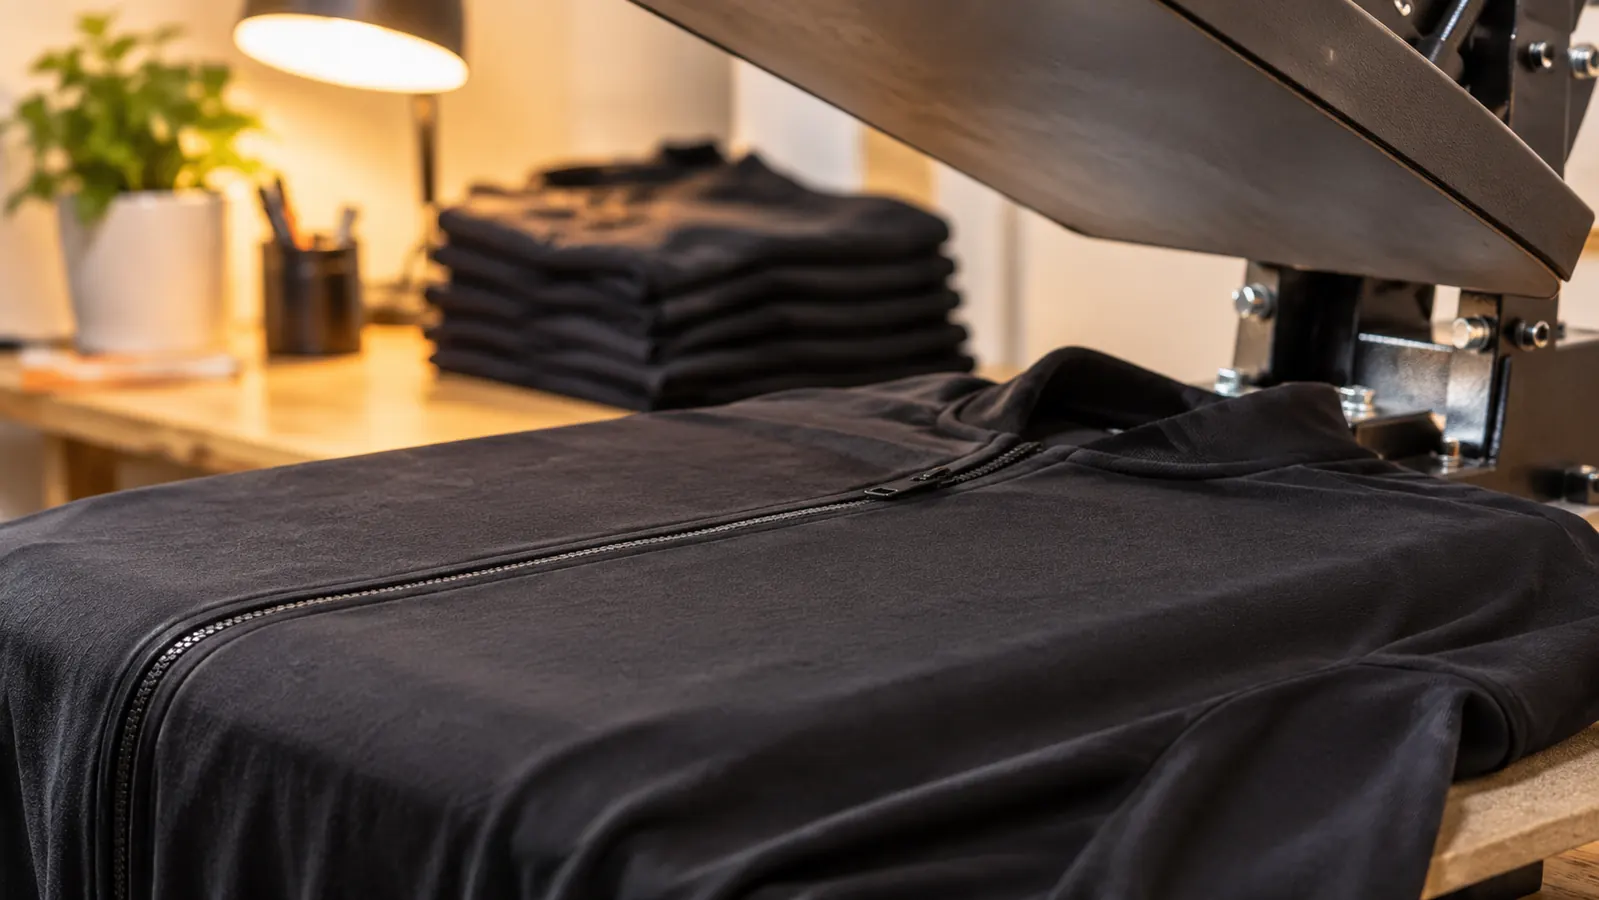
The big one. It spans the back panel of an adult shirt, so the whole print area is supported at once. Before I had it I was pressing back prints in two halves and getting a faint rectangle where the shirt folded against the table between passes. With the large pillow inside, the panel sits level from shoulder to hem. One press, one smooth result, no shifting the garment and hoping the halves line up.
The Teflon surface does not grab adhesive or leave a shine
The outside of these is Teflon, so almost nothing sticks to it. Adhesive residue from a transfer sheet, a stray vinyl trim, the tacky edge of a backing paper, it lifts right off. That matters more than it sounds, because a pillow with a gummed up face leaves marks on the next shirt in the stack. It also means I am not laying parchment over the pillow before every press. The listing calls the surface waterproof, and I have tested that by accident with a spray bottle.
Rated to 600 degrees, so you are not waiting on a cooldown
The upper temperature rating on these is 600 degrees. My press runs at 305 for most vinyl and around 385 for sublimation on polyester, so there is a lot of headroom. The practical version of that number: I do not wait for a pillow to cool before pulling it out and sliding it into the next garment. It goes shirt to shirt without a rest. A folded towel does not care either, but a folded towel also stops holding its shape around the tenth shirt of the night.
Reusable, so you stop cutting fresh cardboard every week
For two years I cut inserts out of shipping boxes. They worked once, went soft, and hit the recycling bin. The VCHOMY pillows have been in rotation through a full season and they still spring back after pressing. The listing describes them as reusable, which sounds like filler until you have thrown away your fortieth piece of cardboard. That is the real difference between a one use scrap and a tool that has a spot on the shelf.
The whole set weighs 8.48 ounces and stacks flat
A press room in a spare bedroom has to share space with everything else. The four pieces weigh 8.48 ounces together and stack into one flat pile no bigger than a folded shirt, so they live on the wire shelf beside my blanks and I grab the size I need by the corner. No hunting, no unrolling anything. If you have a long folding table and no drawer, that matters more than a spec sheet usually does.
What I'd Skip
If you only press flat tees with a front print and nothing else, one pillow in the right size will do the work and you can skip the four pack. Buy the set when you start taking zippers, caps, sleeves or totes, because those are the jobs that need a specific size and the wrong one is worse than none. I would also skip these entirely if you are still pressing with a household iron. An iron does not apply the even, flat pressure that makes a pillow work, so it will sit in a drawer and you will wonder why anyone bothers. And skip using one as a substitute for a pressing mat. The pillow goes inside the garment, not under it. If a size turns out to be one you never touch, the listing carries a 60 day exchange and money back policy, which takes most of the sting out of guessing wrong.
The cheapest fix for a crushed zipper is a pillow you already own the size of
Four sizes, Teflon wrapped, rated to 600 degrees, 60 day exchange and money back. Grab the size you need before the next zip up goes on the press.
Amazon Check Today's Price on Amazon →