
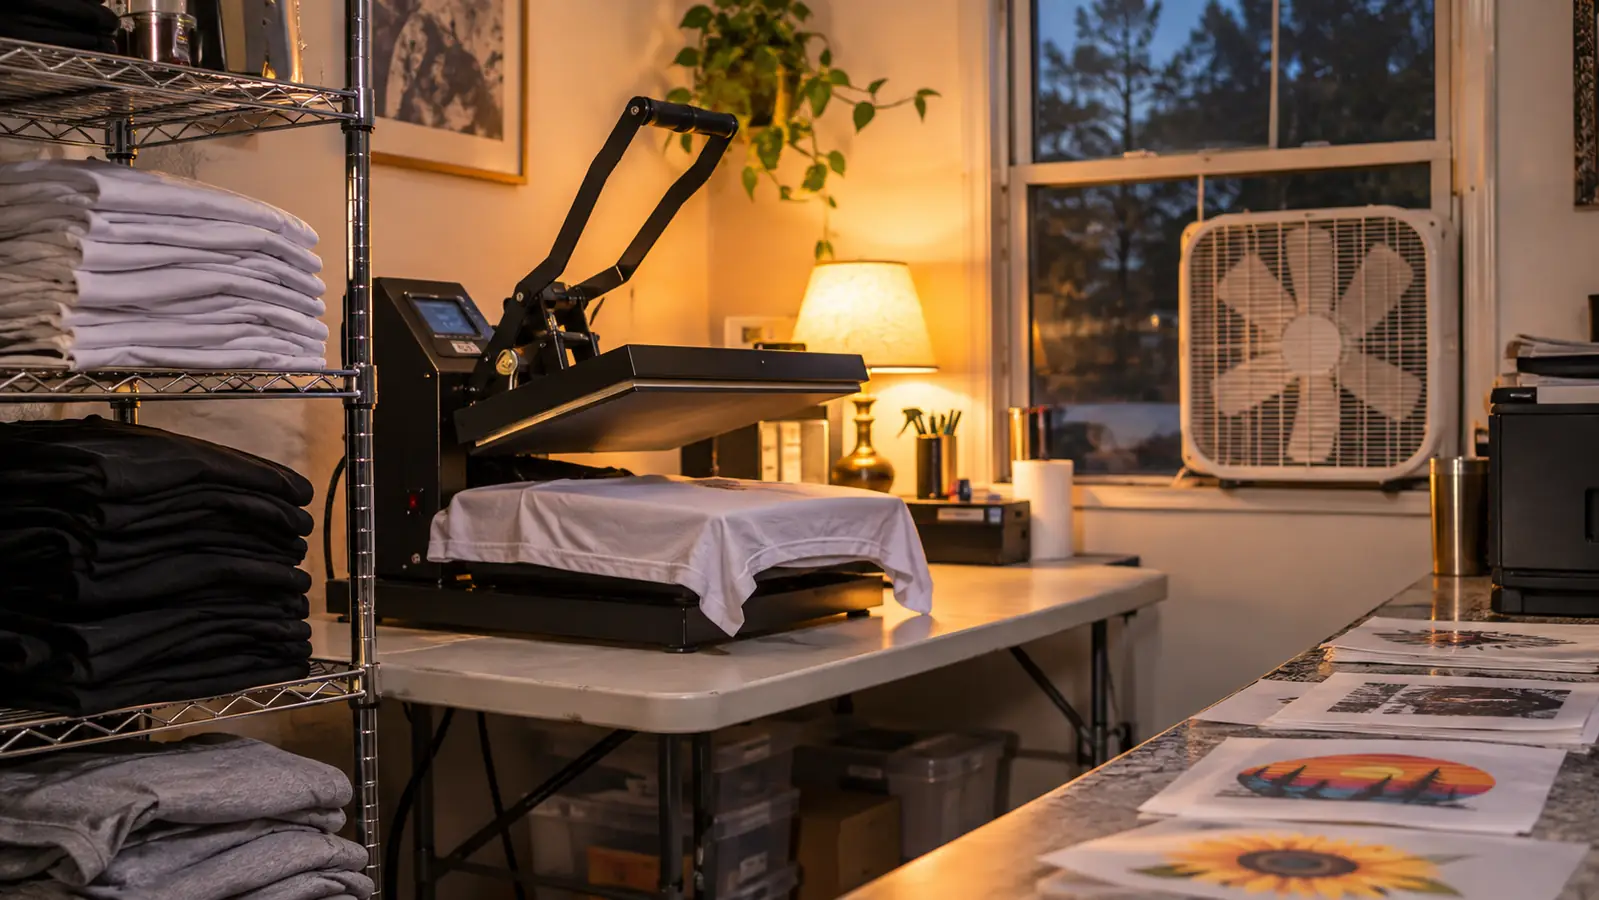
The first sublimation order I ever ruined was a white polyester staff shirt for the front office at my school. The design came off the press with a soft edge on one side, like someone had breathed on the ink before it set. I blamed the press. I blamed the temperature. I blamed the blanks. Three test shirts later I worked out that the paper was the one variable I had not touched, and it is the reason I have used A-SUB Sublimation Paper for the last two years of evening and weekend orders.
Paper is the least expensive part of a sublimation order and the easiest thing to dismiss. It is also the part that decides whether your design has a crisp edge or a fringe. Here are ten reasons it deserves more of your attention than it usually gets, written for anyone running a press after work.
Start With a Sheet That Won't Fight Your Press
A-SUB Sublimation Paper, 8.5 x 11 inches, 110 sheets, 125 g, coated for an even release. Enough sheets to dial in your settings before you touch a customer order.
Amazon Check Today's Price on Amazon →The coating decides whether your edges are crisp or feathered
Transfer rate is not a brochure number, it is how much of the ink actually leaves the sheet and lands in the polyester. A coated sheet releases evenly across the whole surface, so a hairline in a logo stays a hairline. On a thin sheet the ink sits unevenly, and where it releases heavy you get a soft halo around every edge. I press a lot of small text for youth sports rosters. On the wrong paper, size 10 names turn to mush. On A-SUB they read clean at arm's length.
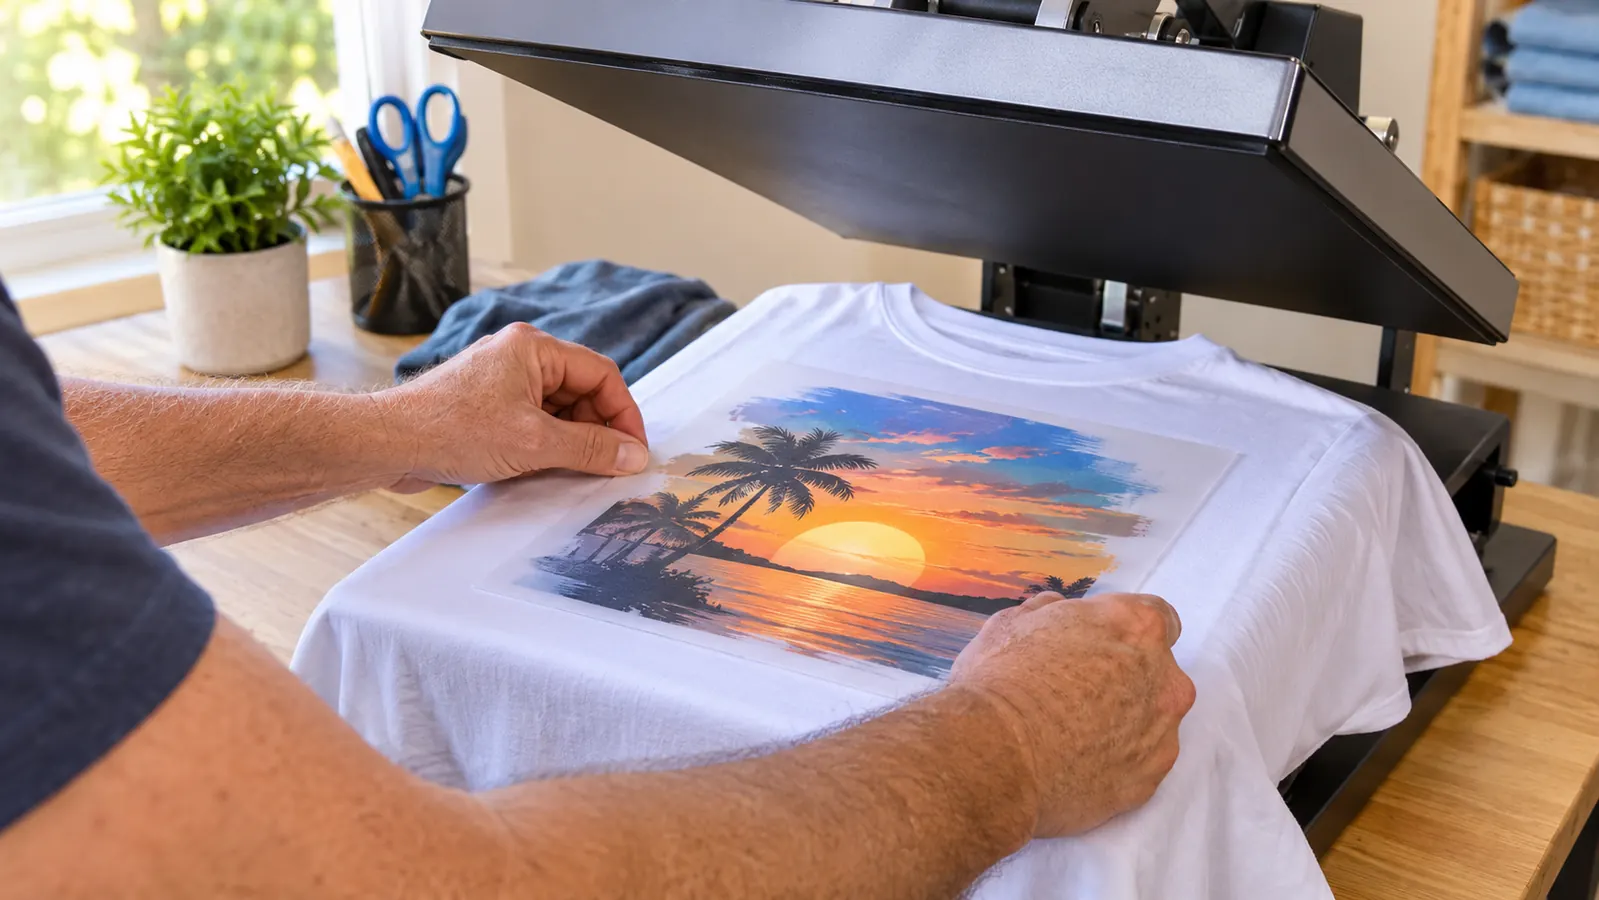
110 sheets is enough to stop rationing test prints
I used to hoard paper. I would print one test, squint at it, guess at the temperature, and then print a real order. That is how you lose a shirt. A 110 sheet pack changes the math: you can run five test sheets in a row and still have a full pack for the jobs you are being paid for. Testing one variable at a time is the fastest way to get better at this, and pack size is what makes testing feel normal instead of wasteful.
125 g paper lies flat under the platen
Thin paper curls. Curl is the enemy of a good press, because the sheet lifts off the blank and wherever it lifts the transfer goes light. This paper is 125 g, so it comes out of the printer flat and stays flat while you position it. I press on a long folding table with a fan going in the summer, and the printer still warms the sheet. Flat paper means I am not chasing a corner around the platen with a heat glove on.
8.5 x 11 covers the jobs you actually get asked for
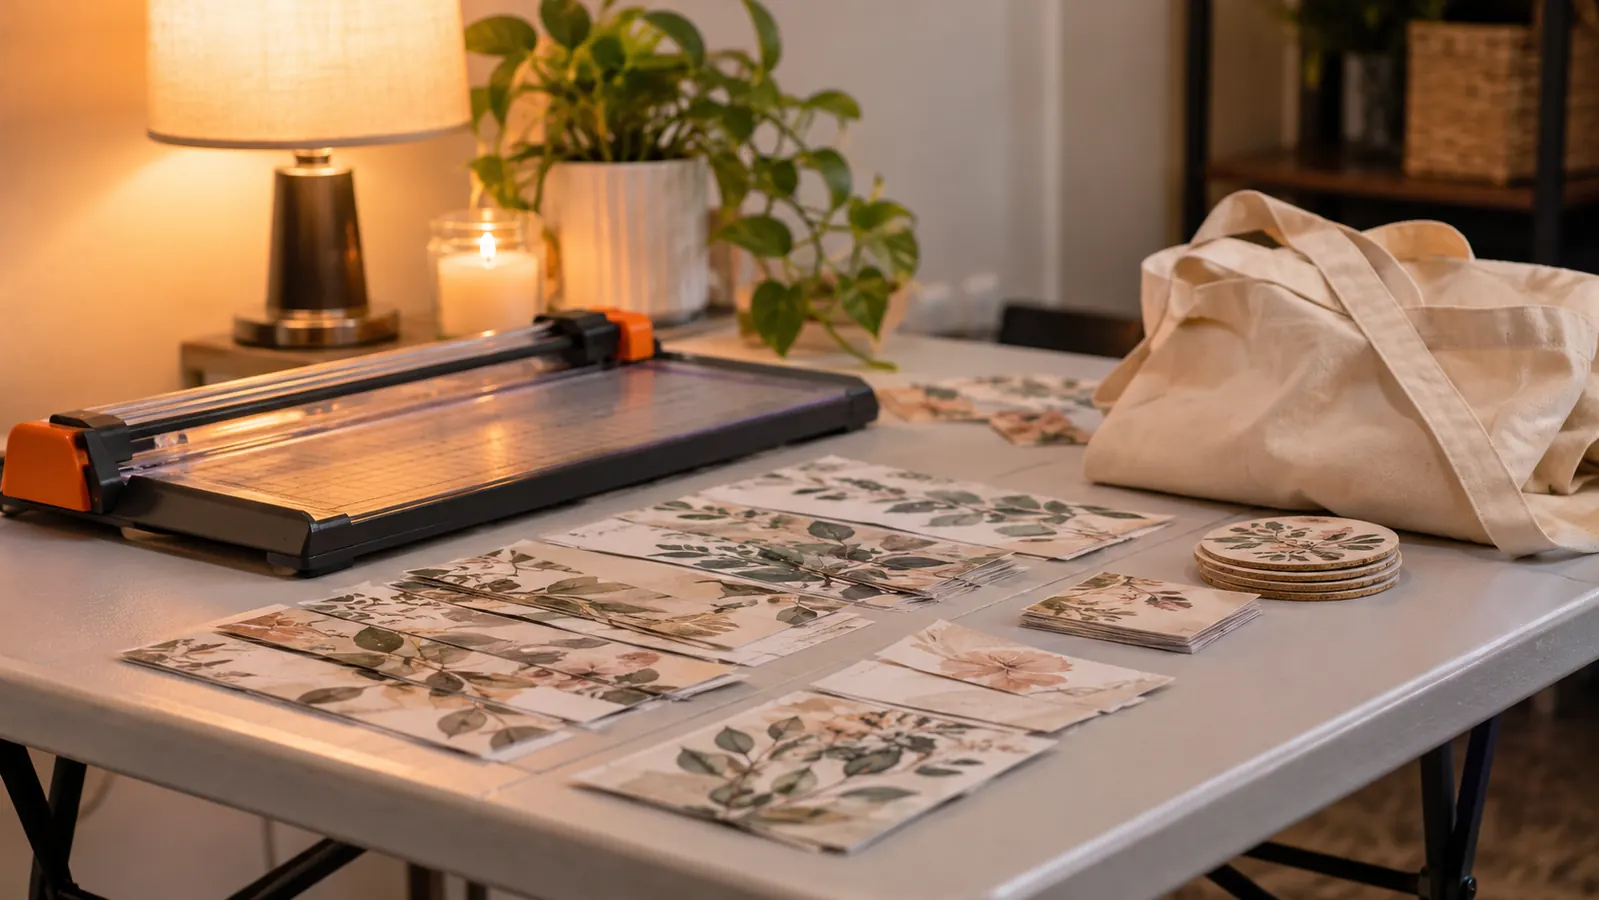
Most of my orders are full front shirt panels, tote bag faces, and tumbler wraps cut down to size. The 8.5 x 11 sheet covers an adult front panel with room to trim, and it feeds through a standard home printer without a special tray. I cut wraps for 20 oz tumblers from the same sheet and use the offcut for a koozie. Nothing gets wasted, which matters when you are buying your own supplies and selling to people you know by name.
The cotton rule is generous enough to keep your orders
The listing says white or light colored high quality polyester, material with cotton content of 30 percent or less, ceramic, tile, phone cases and metal. That covers most of what walks in: poly blend tees, synthetic canvas totes, mugs, coasters and ornaments. Where beginners get into trouble is assuming any white shirt will work. A hundred percent cotton tee will not hold a sublimation transfer no matter which paper you feed it. Know the fiber content before you quote the job.
I have changed paper three times and changed press settings zero times. The edge quality followed the paper.
Consistent sheets mean your settings notebook stays useful
When the paper weight shifts between packs, everything else shifts with it: dwell time, pressure, how fast the ink releases. I keep a notebook of settings per blank, and the only way that notebook is worth anything is if the paper is the same every time. Two years on the same product means my notes still work. That continuity is worth more than saving a little on an off-brand pack, because a failed order costs me a blank and an entire evening.
Amazon Keep one paper in rotation and settle your settings →
It behaves the same on ceramic and metal as it does on fabric
Sublimation is not only shirts. Mugs, tile coasters, phone cases and metal ornaments all take a transfer, and they all need a sheet that releases cleanly against a hard, non-porous surface. Soft fabric forgives a little unevenness because the fibers absorb. Ceramic does not. If the ink releases light on a mug, you see it in the glaze forever. The same sheet I use for a shirt panel handles a coasters run with nothing changed but the press setup.
The sublimation ink rule is the one thing to learn first
This paper works with sublimation ink only. Regular ink does not work, and it will not work no matter how hot the press gets or how long you hold it. I say that plainly because it is the mistake almost every beginner makes in week one: they buy a pack of paper and a cheap inkjet, fill it with whatever came in the box, and then wonder why the design washes off in the first laundry cycle. Convert the printer, or buy one already converted, and then let the paper do its job.
Cutting the sheet down keeps small jobs worth taking
Small jobs are where a side business either works or turns into a chore. A single koozie, a name tag, a set of six coasters: each one needs a piece of paper, not a whole sheet. This paper trims cleanly on a paper cutter and does not delaminate at the cut edge. I get four tumbler wraps or a dozen small shapes out of one sheet, and the offcuts still press fine. Thin paper fights you at the cutter and you end up throwing half of it away.
Fifty-four thousand reviews means the failure modes are already written down
At the time I am writing this, this paper carries a 4.8 rating across more than 54,000 reviews. That is not proof it will work for you, but it is a searchable record of everything that can go wrong: ghosting, uneven pressure, paper stored somewhere damp, the wrong side facing up. When a press run fails, I read the one-star reviews first. Someone has already made my exact mistake and described it in plain language. For a beginner that is worth more than any tutorial.
What I'd Skip
I would skip the oversized multipack of thin paper that shows up first in search results with a low star count. Thin sheets curl, release unevenly, and you spend more time fighting them than pressing. I would also skip any listing that never states the paper weight, because that usually means the seller would rather you did not compare. And I would skip the idea that you can use the ink that came in the printer box. You cannot, and no amount of fiddling with the press will change it.
One more thing I would skip: buying three brands at once to compare. You will not learn anything, because you will not have a controlled test. Pick one paper, learn it, keep notes on settings, and only then try something else. I did eventually compare A-SUB against Koala, and I only trusted my own result because everything else in the press room stayed exactly the same between the two runs.
You cannot fix a curled sheet with more pressure. You can only buy a flatter one.
Control the Cheapest Variable in the Whole Process
A-SUB Sublimation Paper, 8.5 x 11 inches, 110 sheets, 125 g, coated for an even release. Buy one pack, print five test sheets, and keep notes on what worked.
Amazon Check Today's Price on Amazon →