
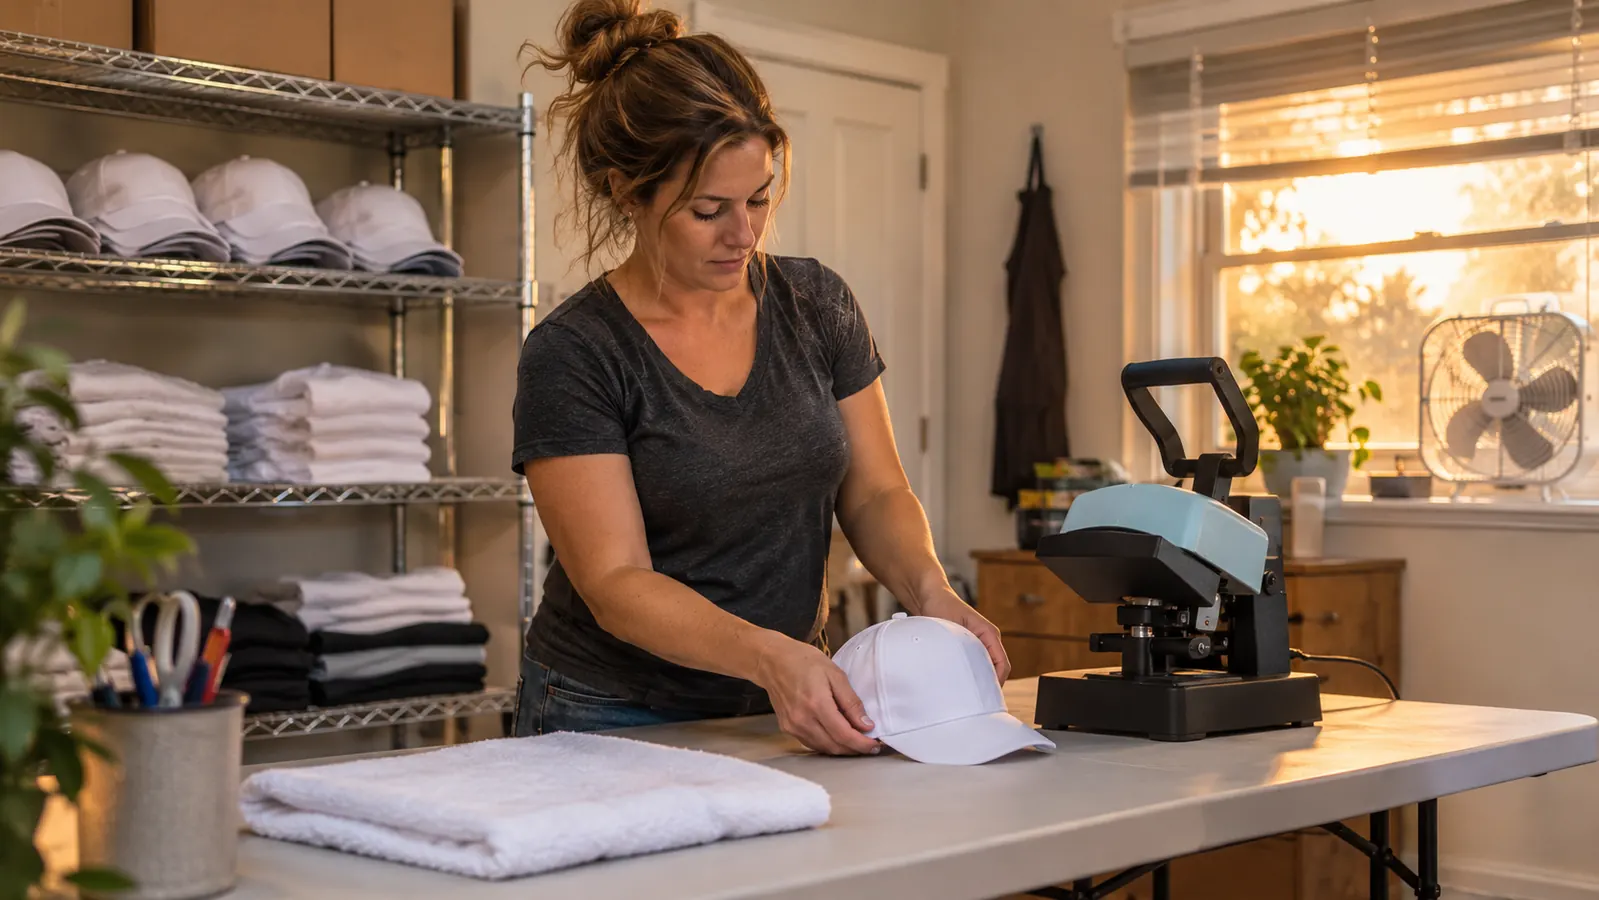
The first hat I ever pressed looked perfect for about ninety seconds. Flat, smooth, the vinyl sealed down tight. Then the cap cooled on the table, the fabric relaxed back into its curve, and the edges of the design lifted like a peeling sticker. I had used a household iron on a folded towel, and I had gotten away with it on flat totes a dozen times before. On a hat it fell apart. Hats, bags and sleeves are the three things people ask me for most, and they are also the three things a flat press is worst at. You are not pressing a surface. You are pressing a curve, a seam, and sometimes a zipper and a snapback, all in the same square inch.
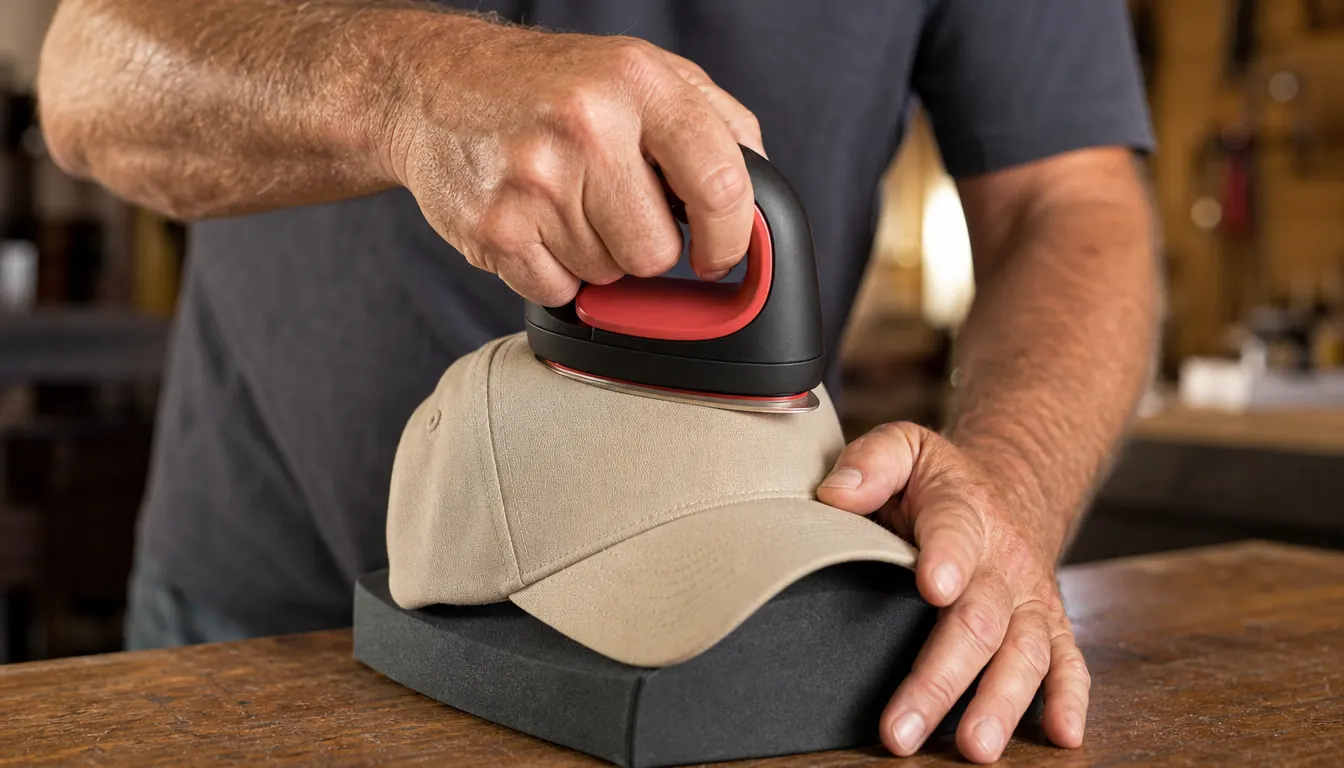
What changed it for me was going smaller instead of bigger. The Cricut EasyPress Mini is 13.44 ounces and roughly 4.6 inches tall by 3.9 inches wide, small enough to hold like a thick marker and set down on a cap without fighting the brim. It has a pointed tip on the plate, which matters more than any other feature for this kind of work, because a hat seam, a sleeve hem and the corner of a tote all need heat in places a wide flat plate simply cannot reach. The plate is ceramic, the top end is 204 °C, and it has an insulated safety base and an auto-off, both of which I have leaned on more than I expected to.
A press that fits inside a cap seam instead of riding up on the brim
The Cricut EasyPress Mini weighs 13.44 ounces, reaches 204 °C, and puts a pointed ceramic plate exactly where a curved blank needs it. Pair it with the Cricut Heat Guide for your material and you stop guessing at settings.
Amazon Check Today's Price on Amazon →Step 1: Read the blank before you touch the heat
Before I press anything, I turn it inside out and look at it. On a cap I check the inner band, the back of the front panel, and the strap. Plastic hardware and stiff interfacing both react to heat, and neither warns you until the cap comes off the table warped. On a tote I check whether the interior is coated, because a coated lining will bubble and stick to itself under pressure. On a sleeve I check the hem and whether there is already a printed or heat transferred tag sitting in the seam I was about to press through.
Fabric content is the next thing I look at. Cotton takes heat comfortably. Polyester blends take on a shine first, then a melt, and that damage does not reverse. The mini tops out at 204 °C and I almost never press iron-on anywhere near that ceiling. On a synthetic blend I press cooler and longer rather than hotter and quicker, and I test on the inside of the hem before the design ever goes near the front. The Cricut Heat Guide is where I look up the time and temperature for the exact vinyl and blank combination I have in front of me, which is faster than the notebook I used to keep.
Whatever the guide says, write the numbers on a scrap of paper and leave it next to the press. You will press forty of the same thing over one weekend and you will not remember. I keep a strip of masking tape on the edge of the folding table with the time and setting written on it in marker. It comes off clean and it has saved me from more bad guesses than any other habit in my press room.
Step 2: Pre-press the area, then trim and weed
Pre-press the area for five to ten seconds before any vinyl goes near it. This does two jobs. It drives off moisture that would otherwise turn to steam under the carrier sheet and blow the adhesive out from under the design, and it flattens the nap so the vinyl has something stable to sit on. On caps I press the front panel from the inside where I can reach it, then from the outside with the cap stuffed with a folded towel so the panel has something firm behind it instead of collapsing.
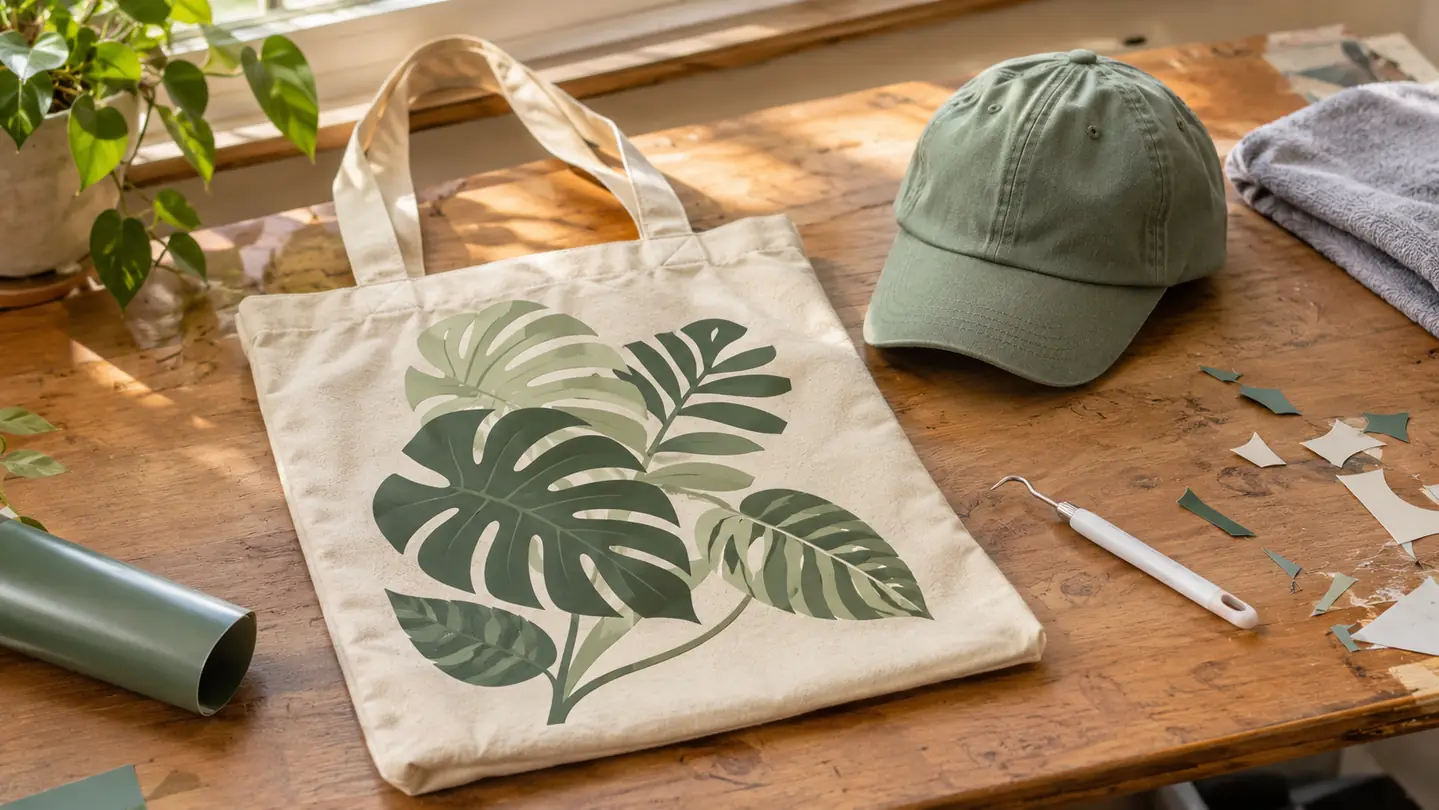
Weed your design with a hook and good light, and be patient with the counters of letters. Small pieces are what fail first on a curved surface, so anything under about an eighth of an inch gets reconsidered. If a design has thin floating elements, I either thicken them or move them off the cap entirely and put them on a tote where the surface is flat. It is a quieter design and it stays on the hat, which is the trade I will take every time.
Trim the carrier sheet back. This is the step most people skip and it is the one that saves the blank. Leave about a quarter inch of carrier around the design and cut the rest away. On a cap a full sheet gets in the way of the curve and lifts the edges of the design as it folds. On a sleeve it will fold over itself and press a hard crease into the vinyl that never comes out.
Step 3: Find the true center and tack the design down
Measure from the eyelets on the front of the cap to find the center, and use the front seam as your vertical line if the cap has one. On a tote, measure from both side seams and both top corners, because bags are rarely square and the handle placement will fool your eye every time. On a sleeve, put the design where it sits on the arm when the arm is bent, not where it sits on a flat table, because the two are not the same spot and the customer will be wearing it bent.
Tack the design down in two or three short presses before you commit to a full cycle. Two seconds, light pressure, one section at a time, working from the center outward. The vinyl grips just enough to hold position, and if it lands crooked you can lift it while it is still warm and shift it. Once you have run a full press cycle with real pressure, that chance is gone and you are either living with it or starting over on a new blank.
On a curved panel, press the center first and leave the edges loose. The carrier sheet will tell you where the design wants to buckle before the adhesive has locked. If it wrinkles, lift that edge, smooth it with your finger while it is warm, and tack it again. Fixing a tack takes ten seconds. Fixing a sealed wrinkle on a cap takes a new cap.
Step 4: Press in overlapping bands and follow the curve
Here is where the pointed plate earns its place. On a cap I press the front panel in three or four vertical bands, overlapping each band by about a third, and I rotate the cap between passes rather than trying to walk the press around the curve. The tip lets me get into the seam above the brim and along the edge of the panel, exactly where a flat plate would ride up on the brim and miss the last half inch. That half inch is where hats peel.
Pressure matters as much as temperature. I use two hands, one on the handle and one flat on the top of the unit, and I lean some weight into it. Light pressure with a lot of heat gives you a shiny patch and a vinyl that lifts in the wash. Firm pressure at a moderate temperature gives you a seal. On sleeves I slip a folded towel or a small pressing pad inside so I am pressing against something solid instead of pressing the sleeve flat against itself.
Keep the press moving slightly, or lift and reset it every few seconds. A plate left sitting still on a curved surface leaves a hard line where it stopped. Each band gets the time the guide calls for, and I count out loud, because a count in my head at ten at night is optimistic and I know it. If I am pressing a stack of caps for a team order, I do one cap completely before I start the next.
Step 5: Peel at the right temperature and re-press the edges
Peel temperature depends on the vinyl, not on the press. Warm peel vinyl comes off while the carrier is still warm to the touch, a few seconds after the press lifts. Cold peel vinyl needs the whole piece down to room temperature, and rushing that is how you pull a letter clean off a cap. Know which one you have before you start, because once the carrier is down you will not want to be looking it up with a hot press in your hand.
Peel low and slow at a shallow angle, in the direction the design runs rather than straight up. If a corner lifts with the carrier, lay the carrier back down and press that spot again for three seconds. On hats the top edge near the seam is the usual culprit, and on totes it is the corners nearest the handle. Those are the two spots I check on every single piece before it goes in the bag.
Then re-press with the carrier sheet back in place for another few seconds, concentrating on the edges. Give the piece a full day before it goes anywhere near a washing machine. After that: inside out, cold water, no fabric softener, and skip the dryer. I tell everyone who takes a shirt or a tote from me the same four things, and the ones who listen come back a year later with a piece that still looks like the day I pressed it.
What Else Helps
A pressing mat or a folded towel under the work is not optional. The mini is small enough that heat goes straight through a thin blank and into the table, and the blank will not seal evenly if the surface beneath it gives. A hat needs something inside it, a rolled towel or a hat pressing pad, so the panel is firm. A tote needs card or a pressing pad slipped inside so the front and back do not fuse together into one stiff sheet.
Two more things. Keep a scrap of the same fabric beside you for a test press, so you can check time and temperature without risking the actual blank. And clean the plate now and then, because residue on a plate transfers to the next thing you press, and on a light canvas you will see it. I wipe mine when it is cool with a soft cloth and nothing else. The insulated safety base is where the press goes down between passes, every single time, even when I think I am only setting it down for a second.
A tack press you can undo. A full press cycle you cannot. That is the entire reason hats go wrong.
Small plate, pointed tip, and a cap that comes off the table flat
The Cricut EasyPress Mini is 13.44 ounces, ceramic, reaches 204 °C, and comes with an insulated safety base and auto-off. If hats, totes and sleeves are the orders you keep turning down, this is the tool that opens them up.
Amazon Check Today's Price on Amazon →