
I ruined a youth soccer jersey in my first month of pressing. The front came out fine. The back did not. The number crossed the shoulder seam, and when I peeled the carrier the vinyl had a faint ridge running through it, a ghost of the seam sitting maybe a sixteenth of an inch under the surface. I pressed it again with more pressure. That made it worse, because more pressure just drove the seam harder into the adhesive and starved the fabric on both sides of it.
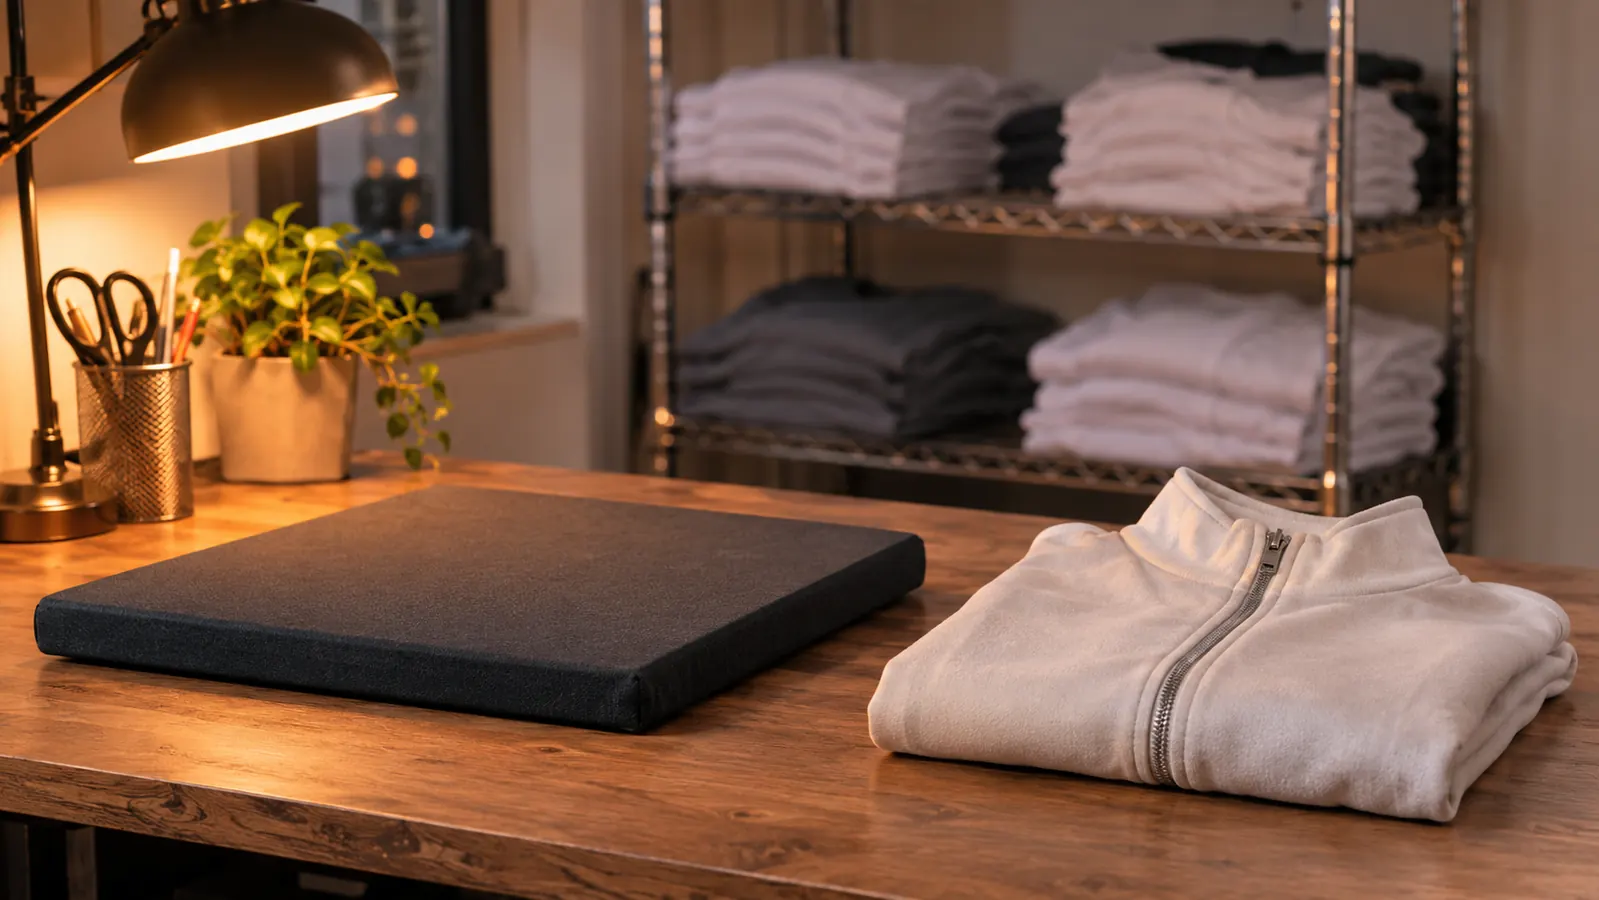
Here is what I did not understand yet. The problem was never pressure. The problem was that the lower platen of my press is a flat steel plate, and a shirt with a zipper, a button placket, a collar stand or a lapped seam is not flat. When the press closes, the high spot takes all the force and everything around it gets nothing. You can lean on the handle until it will not move and the transfer still will not bond on the far side of a zipper. What fills that gap is a heat press pillow, and the set that lives on my table is the four-piece kit from VCHOMY. After four years of pressing shirts, totes and tumblers in a converted spare bedroom in Albuquerque, I would not run a zipper job without one.
Four sizes, so there is always one that fits the seam
The VCHOMY set covers 5 x 5, 10 x 10, 5 x 15 and 12 x 15 inches. Between them they handle a cap crown, a tote gusset, a sleeve seam and a full back panel. Rated to 600 °F, so the pad is never the limit on your settings.
Amazon See the VCHOMY pillow set on Amazon →What a Heat Press Pillow Actually Does
A heat press pillow is a pad with a Teflon face and a foam core. You put it under or inside the part you are pressing, close the press, and the foam compresses into the shape of whatever is beneath it. Zipper teeth sink into the foam instead of standing proud. A button gets a small pocket of foam cupped around it. The transfer, sitting on top, now has a continuous flat surface to bond against.
The Teflon face matters as much as the foam. It releases, so you are not scraping adhesive residue off the pad after every job, and it takes heat. The VCHOMY pillows are rated to 600 °F, well above what you will use for heat transfer vinyl or sublimation on a shirt. They are waterproof and reusable, which in practice means I wipe one down with a damp cloth and put it straight back on the wire shelf.
Step 1: Match the pillow to the job, not to the shirt
The four sizes do different work, and it took me a while to stop grabbing the biggest one out of habit. The 12 x 15 inch mat is for a full back panel or a large front print on a t-shirt. The 10 x 10 inch handles the average chest print and most tote fronts. The 5 x 15 inch is the sleeve and collar stand pad, long and narrow, and it is the one I reach for when a youth jersey has numbers running up over the shoulder seam. The 5 x 5 inch is for caps, small chest hits, and getting in behind a button placket.
The rule of thumb is that the pillow should be bigger than the transfer and smaller than the garment. If it hangs off the edge of the platen, you are squeezing foam into open air and losing the even pressure you built the stack for. If it is smaller than the transfer, the edges of the design are back over bare steel and you will get a dull, undercooked edge that lifts in the wash.
For a cap, the 5 x 5 goes inside the crown. This is the other thing people miss about these pads. A pillow can go inside a garment just as easily as under it. A hat pressed flat, with nothing inside to hold the crown shape, comes out with the front panel crushed and the seam lines printed straight through the design.
Step 2: Build the stack in the right order
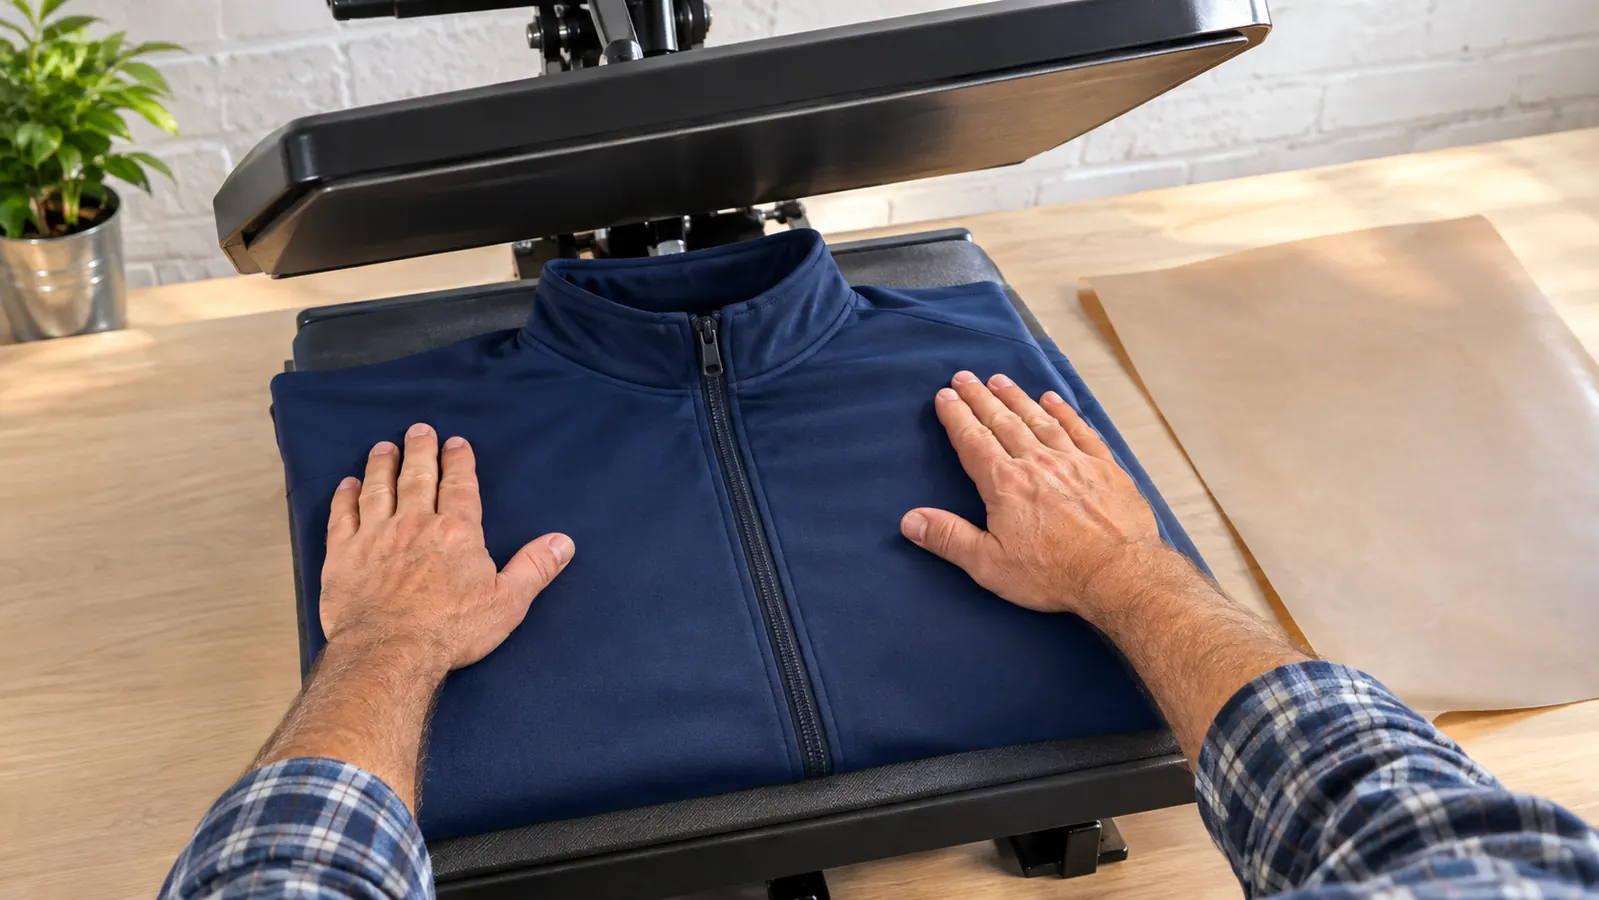
Bottom to top on a clamshell press: lower platen, pillow, garment right side up with the seam facing the pillow, transfer adhesive side down, then a cover sheet or the carrier itself. On a swing-away press the order is identical, you just have more room to arrange everything before you swing the head over.
The seam needs to sit directly on the foam, not beside it. That sounds obvious and it is the mistake I made for a solid month. If the zipper is two inches to the left of the pad, the pad is doing nothing at all and you have simply made your stack taller.
Do not stack two pillows to get more height. The foam does its job by compressing into a gap. Two pillows on top of each other mostly compress against each other, and you lose the conforming effect while adding a spongy, uneven surface that shows up as a pressure map on the finished transfer.
Step 3: Set the temperature for the blank, then trust the rating
Temperature is set by the vinyl, the sublimation paper or the blank, never by the pillow. The pillow only has to survive it. The VCHOMY pads are rated to 600 °F, so unless you are doing something unusual, the pad is not the limiting factor in your setup. Follow the instructions that came with your material and stop guessing at the numbers.
Two practical notes from my own table. First, the pad adds a little insulation between the platen and the garment, so on a thin polyester performance shirt I sometimes add five seconds to the press time to compensate. Second, pre-press the garment before you place the transfer. Thirty seconds on the pillow with no transfer flattens the seam and drives off the moisture that makes vinyl lift at the edges.
Do not skip the cool peel either. Over a seam the adhesive needs to be fully set before you pull the carrier, because the fabric underneath is not flat. Peel warm and you will pull the vinyl off the ridge line nearly every time, then wonder why one design keeps failing when the one next to it on the same shirt came out clean.
Step 4: Press with less pressure than you think
This is the counterintuitive part, and it took an expensive shirt to learn it. With a pillow in the stack you want enough pressure to close the foam and make contact, and no more. On my press that is a medium setting, roughly where the handle meets real resistance but still moves. Crank it down hard and you flatten the foam completely, which means you have turned your pillow back into a steel plate and the seam is once again the highest point in the stack.
If you are not sure, test on a scrap with the same fabric and the same seam construction. Press, peel, look. If the transfer is bonded on the seam and on both sides of it, your pressure is right. If it is bonded everywhere except one thin line, the foam is not filling that gap, and the fix is usually a smaller pillow placed more precisely, not more force on the handle.
On buttons, use the smallest pad that covers the placket and let the foam cup around each button. A button pressed dead flat into a transfer leaves a ring that never comes out of the fabric, no matter what you do afterward.
Step 5: Cool, peel, then re-press the low spots
Peel cold, then look at the job under a lamp at an angle and be honest about what you see. Seams produce a specific kind of failure: a thin band of dull, slightly milky vinyl running parallel to the seam, usually about an eighth of an inch wide. If you spot that, do not press the whole thing again at full temperature. Cover the transfer with a Teflon sheet or the carrier, put the pillow back in the same place under the same seam, and give it a short second press of ten to fifteen seconds.
Check the inside too. On a zippered tote or a polo placket, the pillow can even out pressure so well that you get adhesive bleed through to the lining on the back. If that happens, your pressure was too high or the pillow was too thick for that fabric. Drop to the thinner pad and run a test on a scrap before you touch another order.
Then let it sit flat for a few minutes. I know it is tempting to fold it straight into the bag for the church festival booth, but fabric pressed over a zipper wants to curl back around the teeth, and a warm fold sets that curl in.
Three Mistakes That Cost Me Shirts
The first was ironing the seam flat before pressing. I thought I was helping. All I did was crush the foam's advantage by hardening the ridge into a sharper line. Now I leave the seam alone and let the pillow handle it.
The second was using a folded towel instead of a pad. A towel is better than nothing, and I pressed a lot of totes on one before I knew better. But a towel shifts, holds moisture, and leaves a texture that occasionally prints through a thin transfer. The Teflon face on a real pillow does not do any of that.
The third was assuming the same stack worked for everything. A cap crown, a tote gusset and a jersey shoulder need three different pads positioned three different ways. Once I started matching the pad to the seam instead of the seam to whatever was already on the table, my reject pile dropped to almost nothing.
What Else Helps
A few small things made seam work easier once the pillows were in rotation. A Teflon cover sheet on top of the transfer spreads heat and keeps the carrier from sticking to the upper platen on a second press. A strip of card stock under a stubborn zipper gives the foam something to press against without adding heat-blocking bulk. And a small cutting mat marked with the four pillow sizes saves a lot of guessing about which pad matches which print.
The other thing that helps is a scrap bin. Every new blank gets one test press over its worst seam before I touch a real order. That habit costs me maybe ten minutes a week, and it has saved jerseys, totes and one very apologetic message to a coach who ordered twelve shirts for a Saturday game.
Where the VCHOMY set earns its shelf space for me is the 5 x 15. Most kits sell you two squares, and a square pad on a sleeve seam is the wrong tool for the job. The long narrow one follows the seam instead of hanging off both sides of it, and the 5 x 5 covers caps, which is a job plenty of pressers do with a folded towel and a lot of hope.
You can lean on the handle until it will not move and the transfer still will not bond on the far side of a zipper. The gap is the problem, not the pressure.
Every seam in your shop, four pads, one shelf
A 5 x 5, a 10 x 10, a 5 x 15 and a 12 x 15. Teflon faced, waterproof, reusable, rated to 600 °F. Check the current listing for sizing and availability.
Amazon Check today's price on Amazon →