
The first shirt I ever pressed came out with a ghost of the design baked into the fabric three inches above where I wanted it. Temperature was right. Time was right. What I did not understand yet was how a hot platen actually behaves when you lower it, and that ruined shirt taught me more than the next twenty good ones did. If you just unboxed a 15x15 press and you are staring at the digital readout trying to figure out where to start, here is the sequence I wish someone had handed me on day one. I press on a Fancierstudio 15x15, and it has done four years of school staff shirts, youth jerseys and festival totes on a folding table in my spare bedroom.
None of this is complicated. It is order of operations. Most of the bad presses I made early on were not caused by the wrong temperature. They were caused by doing four correct things in the wrong sequence, then blaming the machine. Work through the five steps below in order and your first shirt will look like your twentieth.
A 15x15 Platen Covers a Full Adult Front Print Without Repositioning
One square big enough for a back print or a front design with room to spare, electronic temperature and time controls, and a Teflon coated upper platen. Check the current price and the full listing on Amazon before you clear a table for it.
Amazon Check Today's Price on Amazon →Step 1: Give the Press Its Own Table, Its Own Outlet, and Its Own Air
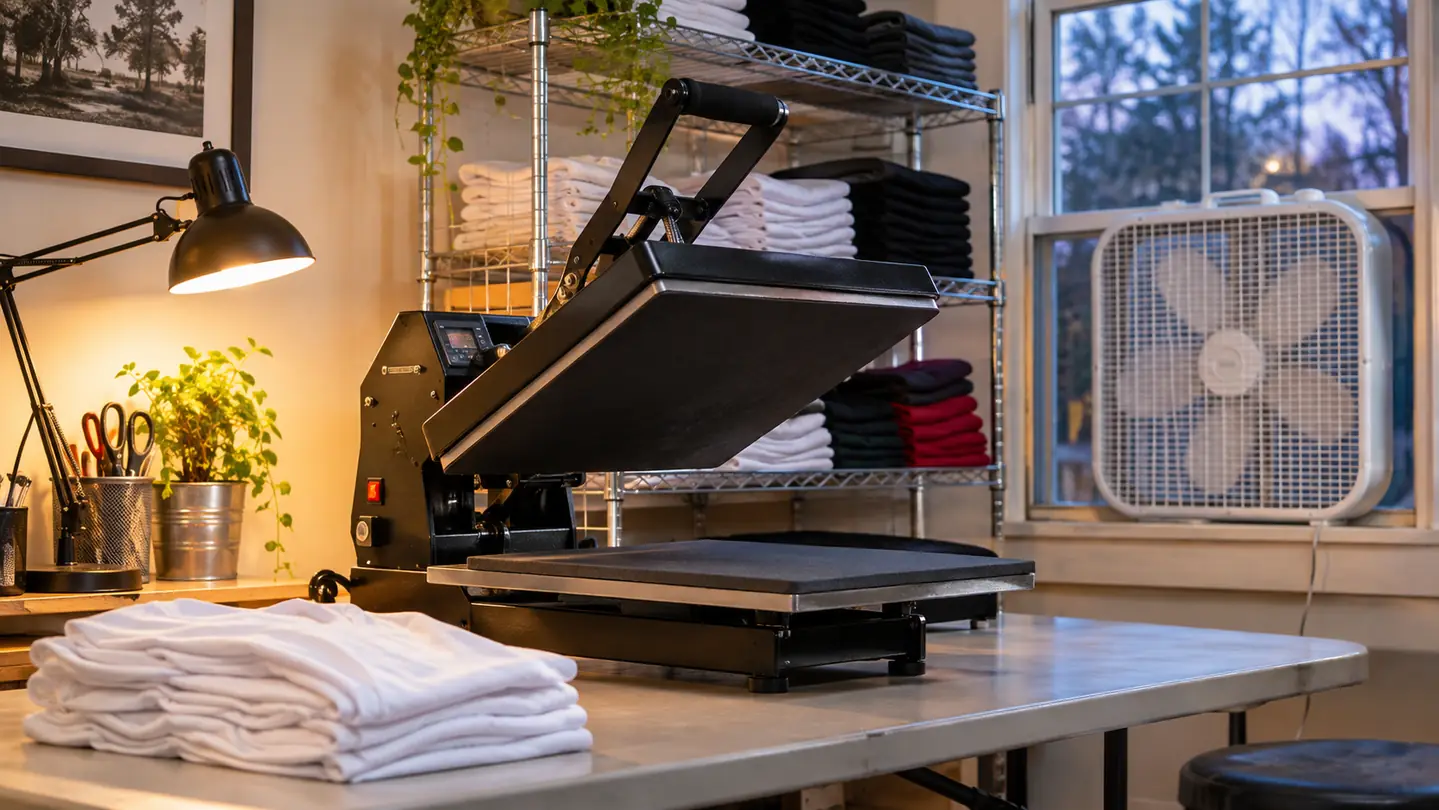
The box arrives bigger than you expect. The machine measures 33 inches long, 23 inches wide and 20 inches tall, and it is not something you set up and put away every time the mood strikes. Mine lives permanently on a long folding table in the spare bedroom, near the window, with a box fan pointed at the wall behind it. Whatever surface you choose has to be solid. When you bring the platen down you are leaning your weight into it, and a table that flexes or slides will slide your design with it.
My first week, I pressed on the dining table and carried the machine back to the closet every night. By Thursday the arm had banged into a chair twice, and I had a nick in the platen coating to look at for the rest of the year. A dedicated table with two feet of clear space on every side is not a luxury, it is the cheapest thing you will buy for this setup.
Power is the part people skip. This is an 1800 watt machine running on 110 volts. That is fine on a normal household outlet, but it is not fine sharing a power strip with a space heater, a shop light, or a second press. Give it its own outlet if you can, and route the cord so it is not under your feet while you are leaning over the handle in socks.
Air matters too. Transfers off gas when they get hot, and a small room with the door closed will tell you about it inside an hour. I crack the window and run the fan the entire time the press is on. Not a dramatic precaution. It just makes the room usable for a two hour session instead of a twenty minute one.
Step 2: Set Temperature and Time Before a Blank Comes Out of the Bag
You set temperature and time on the electronic control panel, and the ranges are wider than you will ever need for a cotton tee. Temperature runs from 0 to 699 degrees Fahrenheit. The timer runs from 0 to 999 seconds. That headroom exists for sublimation, rhinestones and specialty materials. For what most of us do, you will live in a narrow band near the bottom of both.
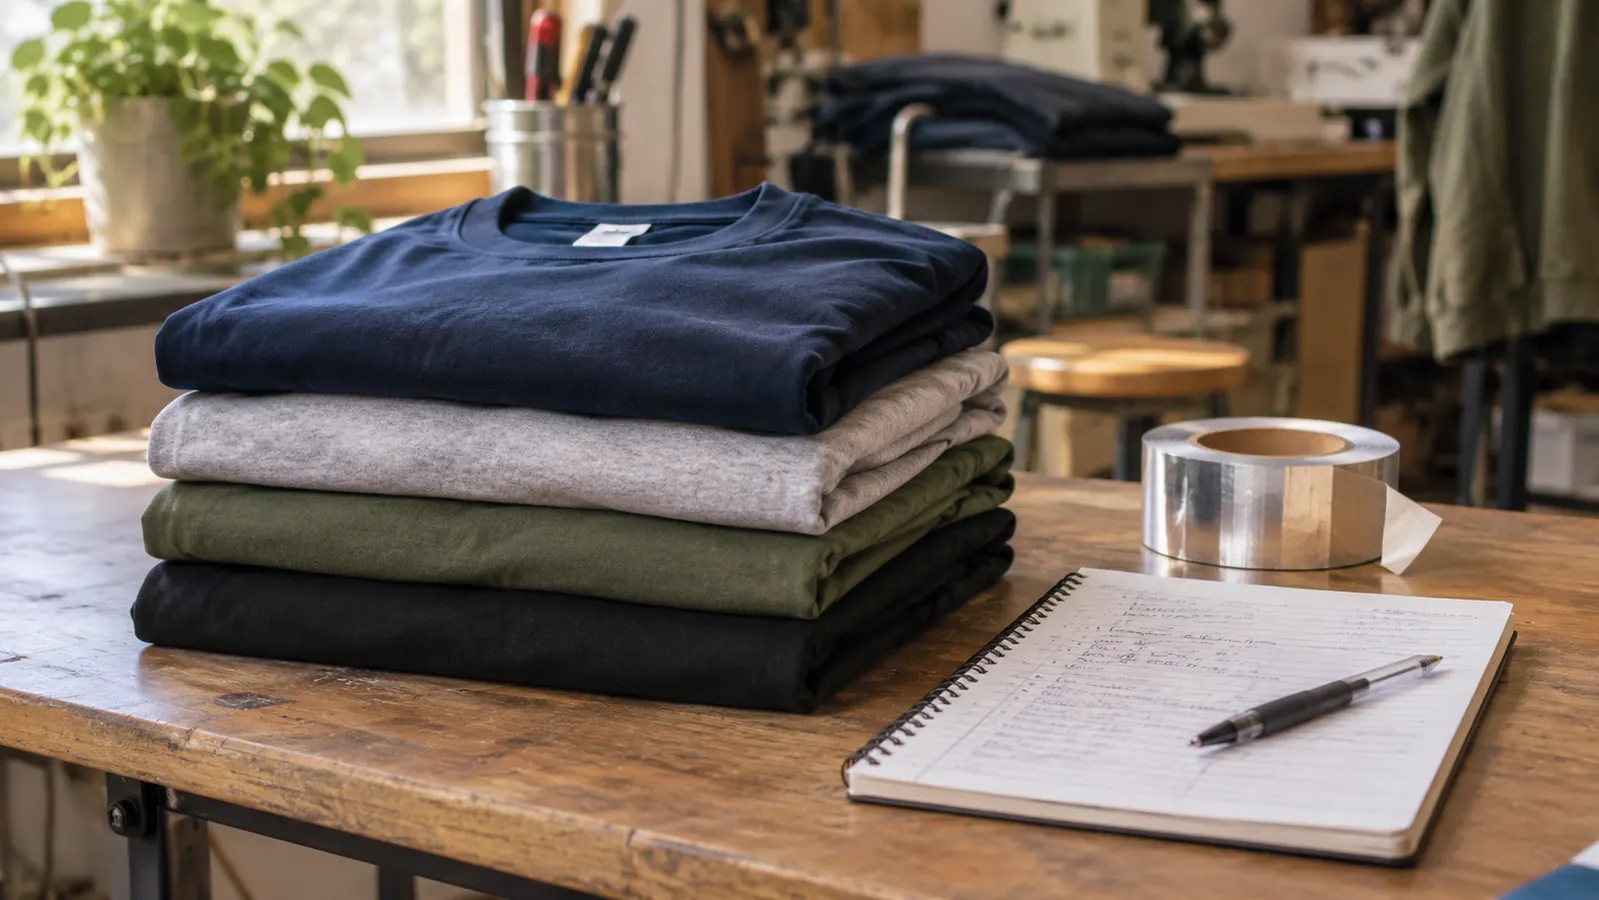
My starting point for a standard cotton shirt with a vinyl transfer is 330 to 350 degrees for 25 to 30 seconds. A poly blend comes down to roughly 300 to 320, because polyester and high heat are not friends and you will find out the hard way with a scorch mark or dye migration. Thin lightweight blanks run cooler and shorter. Heavy ringspun cotton takes the fuller time. Write your numbers down. Not in your head, on a sticky note taped to the shelf, because three weeks from now you will not remember which blend gave you the good result.
Give the press a few minutes to actually reach temperature before the first real press. A readout that says 340 does not always mean the whole platen surface is at 340. Mine runs a little hot in the middle on the first cycle after a cold start, so I press one scrap of fabric as a throwaway warm up and then start on the work that matters.
Step 3: Prepress the Blank and Pull the Moisture Out
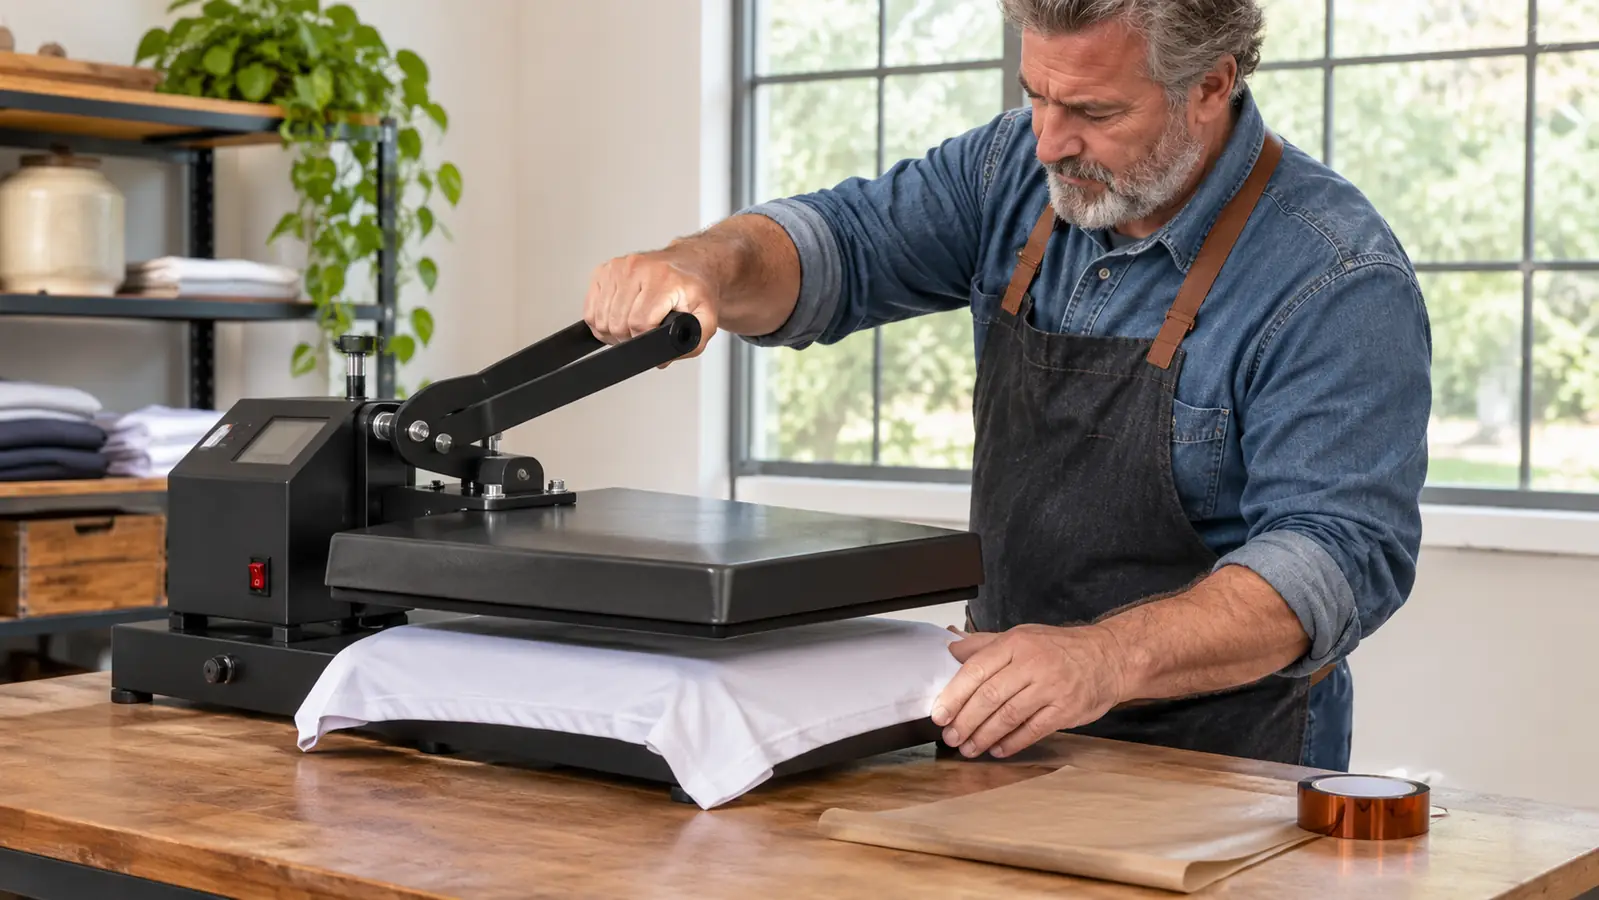
Lay the shirt flat on the lower platen, smooth the wrinkles out with your hands, and close the press for five to ten seconds with nothing on it but the shirt. No design, no tape, no transfer. Just the blank meeting the hot platen. This is the step almost everybody skips, and it is the one that decides whether your design looks like it came from a shop or got glued on by a person in a hurry.
Two things happen in those few seconds. The heat flattens the weave so the transfer has a level surface to bond to, and it drives out the moisture cotton holds onto even after a month in a closet. Moisture under a transfer turns to steam the instant you press. Steam lifts edges. Lifted edges peel in the wash, and peeling in the wash is what convinces people the whole machine was a mistake.
The first shirt I skipped this on was a gray staff tee in October. It looked fine coming off the platen. Two washes later the bottom edge had curled up like a dry leaf, and I could see the weave of the cotton pressed into the back of the vinyl where the moisture had pushed it up.
If the shirt came out of a plastic bag, it needs this pass. If it came out of the dryer twenty minutes ago, it needs this pass twice. Whatever the transfer paperwork says about prep, do it anyway. The Fancierstudio heats fast enough that ten seconds costs you nothing.
Step 4: Place the Design, Tape It Down, and Press With Both Hands
Position the design where you want it, then tape two opposite corners with heat tape. Tape is inexpensive and it stops the transfer from shifting a quarter inch when the platen touches down. A quarter inch is not visible until you hang the shirt on a person and see the design sitting crooked across the chest.
Close the press slowly and come down with even weight, both hands on the handle. Do not slam it, and do not lean to one side to check your phone. Hold for the full count and let the machine's timer be the count, not your internal sense of thirty seconds, because your internal sense of thirty seconds is closer to fifteen when you are nervous. The platen is Teflon coated, which keeps adhesive residue from welding itself to the upper surface and gives the transfer a clean release when you lift. That coating is a convenience, not armor. Stray vinyl scraps still bake on, so wipe the platen down between projects.
A 15x15 platen presses a full adult 2XL front print in one shot, and that is the entire reason to own this size. Anything larger, like a full back print on a 3XL, gets two presses with a slight overlap. I will be honest with you, the overlap seam is the hardest thing on this machine to get right, and I still do a practice run before I touch a customer's shirt.
Step 5: Peel, Cover, and Wait a Day Before You Judge It
Peel the carrier sheet while it is still warm for most vinyls. Some specialty transfers want a cold peel, where you let the whole thing come to room temperature before lifting. If you are not sure which you have, the transfer's own paperwork is the authority, because the press has no idea what you loaded into it. Peel slowly and at a low angle. Ripping the sheet off while the design is still soft can pull the edges with it.
Then cover the design with a Teflon sheet or a piece of parchment and press again for five seconds. This second pass settles the edges that lifted during the peel and takes the plastic shine off the top of the transfer. It is a small extra step, and it is the difference between a shirt that looks bought and a shirt that looks pressed.
Then leave it alone. Not an hour, a full day. Wash it inside out in cold water, skip the fabric softener, and hang it to dry the first time so you can watch how the design actually behaves. If something is going to fail, I would rather it fail on my own test wear than on a customer's shirt at a festival booth in June.
I keep one shirt from every new blank or transfer I try, hung on a hook on the back of the press room door with a date written on the tag. When a batch of ten goes out to a team, that hook shirt has already been through five washes before I promise anybody anything.
Five to ten seconds of prepress with nothing but the blank on the platen is the difference between a design that outlives the shirt and one that lifts in the first wash.
What Else Helps
Buy a pack of inexpensive blank shirts specifically to ruin. This is the single most useful thing I did in my first month. You will press crooked, you will press too hot, you will forget the timer and come back to a scorched collar. Better that happens on a blank you paid very little for than on the twelve staff shirts you promised the front office by Friday. Two or three practice blanks will teach you more about placement and pressure than any video.
My first pack of five blanks went into one long afternoon of working out how much weight the handle actually wants and where the design sits on a medium versus an XL. Two of those shirts are in the rag bin. One of them I still wear to the grocery store, slightly crooked across the chest, and nobody has ever said a word about it.
Keep a log. Mine is a spiral notebook with a column for material, temperature, time and result. After four years it is mostly repeats of the same five entries, but when a new blank shows up, the notebook is how I know where to start instead of guessing. The press has electronic controls and a precise time setting, so the machine will hold its number all day. The variable is you and the fabric, and the log is how you control that.
Know what the warranty covers and what it does not. The Fancierstudio is listed with a 3 month warranty, which tells you something honest about the bracket it lives in: it is a workhorse, not an heirloom. Treat the cord well, keep the platen clean, do not stack anything on the upper arm between sessions, and it will run far longer than three months. Mine has, and it still holds temperature on a cold morning in a room with a drafty window.
Ruin Two Blanks on Purpose, Then Sell the Third
A 15x15 platen, a temperature range from 0 to 699 degrees, and a timer that counts single seconds give you enough control to learn this properly instead of guessing your way through it. The Fancierstudio 15x15 is the machine I learned on and the one I still use.
Amazon Check Today's Price on Amazon →