
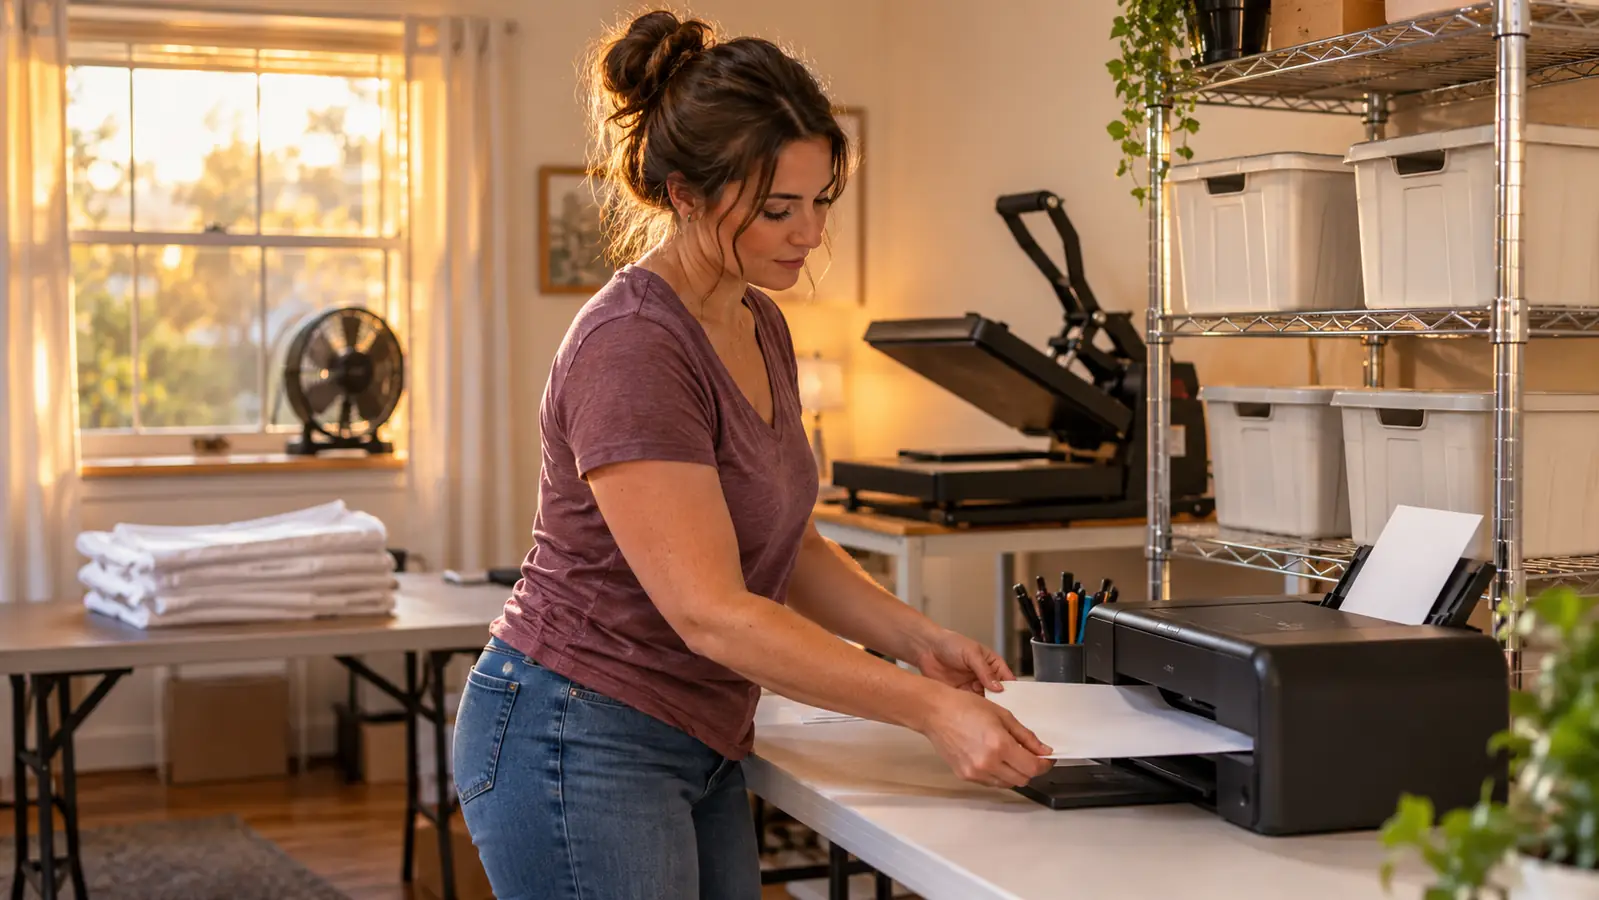
The first sheet of sublimation paper I ever printed came out of my printer looking like it had been rained on. Wet ink, curled edges, and a transfer so faint I could see the tote bag through it. I blamed the printer, then the ink, then myself. What I actually had was a ream of ordinary copy paper and no clue that the paper does half the work. Four years and a lot of ruined blanks later, almost everything I print goes onto A-SUB Sublimation Paper, the 8.5 by 11 inch, 110 sheet, 125g pack, and the gap between a crisp transfer and a muddy one comes down to five habits. None of them are difficult. All of them have to happen in order.
If you are where I was, standing over a printer at nine at night with a church festival order due Saturday, this is the walkthrough I wish someone had handed me. No theory. Just what to click, which side of the sheet faces up, how long to let it dry, and the three mistakes that account for most of the faded shirts in my scrap bin. I still keep a scrap bin. Everyone should.
The paper is the one variable you can actually control
A-SUB Sublimation Paper, 8.5 x 11 inch, 110 coated sheets at 125g. The same design that came out muddy on copy paper prints sharp on this, provided the ink is sublimation ink.
Amazon Check Today's Price on Amazon →Step 1: Confirm your setup is actually a sublimation setup
This sounds obvious and it is not. Sublimation ink and sublimation paper are two separate requirements and you need both. The A-SUB listing says it plainly: the paper only works with sublimation ink, and regular ink does not work. If your printer is still running the cartridges it shipped with, nothing downstream matters. You will get a damp sheet and a ghost of an image, and you will spend an hour adjusting settings that were never the problem.
So before you open the pack, confirm three things. Your printer has been converted or filled with sublimation ink. Your blank is in the right family: white or light colored high quality polyester, a material with cotton content of 30 percent or less, or a coated hard surface like ceramic, tile, a phone case or metal. And your heat press is actually reaching temperature, not just lighting up. I check mine with an infrared thermometer once a month because it drifts by about 15 degrees, and 15 degrees is enough to change a result.
The cotton number catches people out. A 50/50 blend will take a transfer, but it comes out washed out and it fades faster, and no amount of pressure fixes it. When someone hands me a tri-blend shirt for a youth sports order, I tell them what they are going to get before I take it. That conversation is easier than the apology afterward.
Step 2: Mirror the design and size it to the actual blank
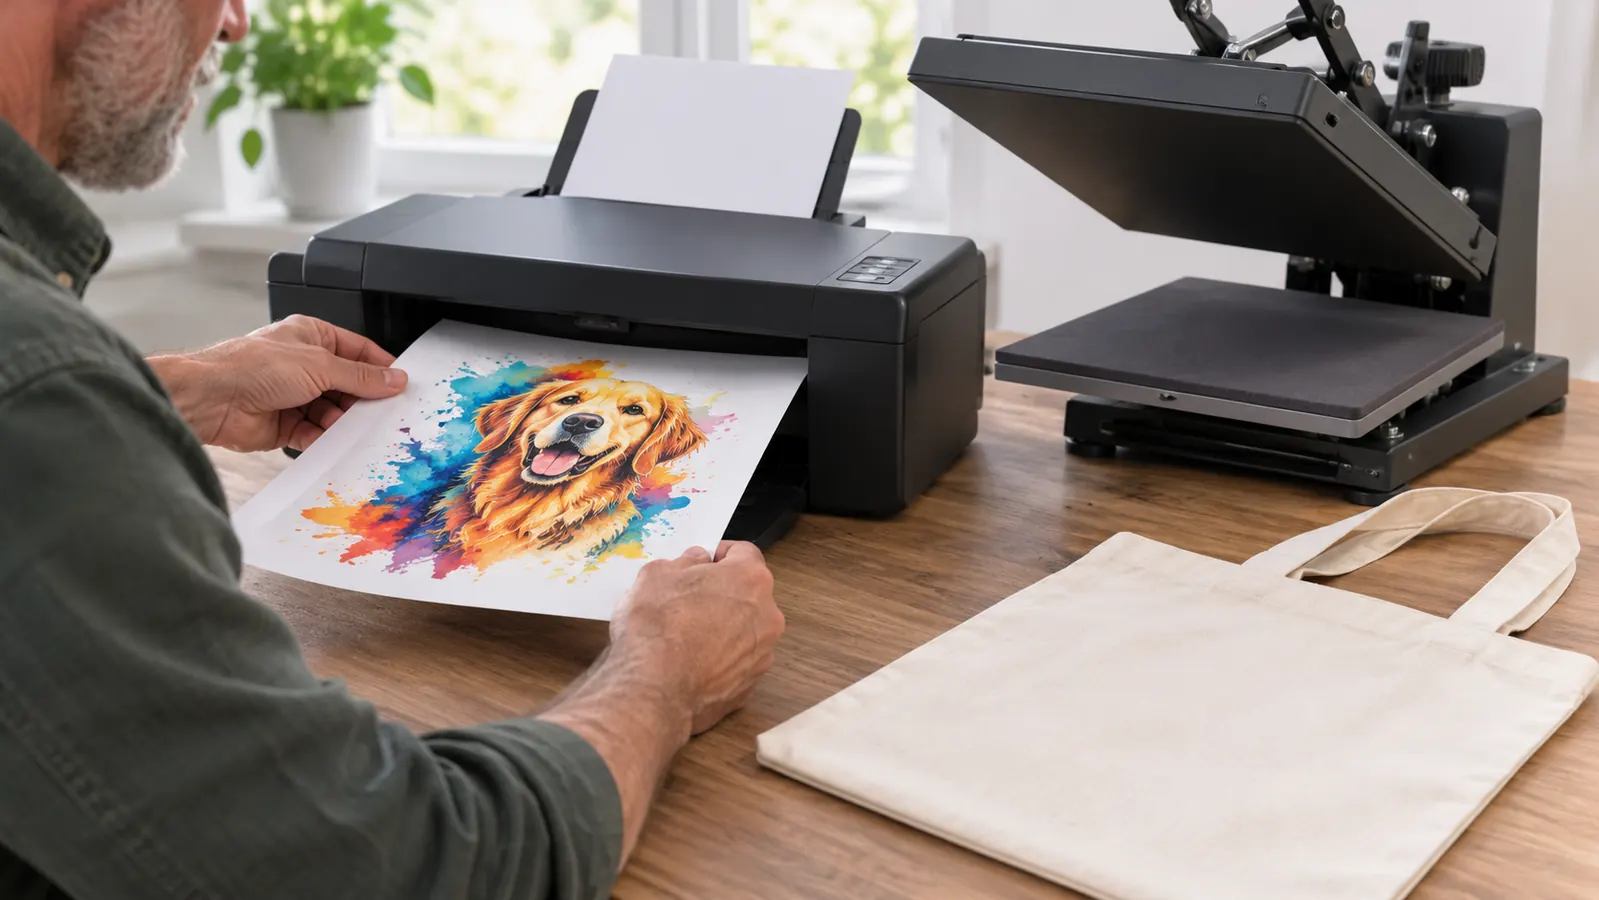
Sublimation transfers print in reverse. Skip the mirror step and the shirt comes out with backwards text, and you find out after you press it. Every design program handles this differently, but the setting is usually labeled mirror, flip horizontal, or reverse. Do it at the end, once the layout is final, so you are not flipping a file twice and quietly undoing it.
Size it against the blank, not against the screen. I lay the tote or the shirt flat on the table, put a ruler beside it, and measure the printable area. Then I set the design to those numbers plus a small margin so I have something to tape. A design that fills the preview window will not necessarily fit a nine by eleven tote panel, and trimming a printed sheet wastes a sheet you already paid for in time.
One habit that has saved me more blanks than anything else: print a draft on plain paper first, cut it out, and lay it on the blank. Plain paper is disposable. A ruined tote is not. Once the placement is right, put the real sheet in the tray and print it for keeps.
Step 3: Load the sheet the right way up and set the paper type
A-SUB is a coated sheet, and only the coated side takes ink properly. You will know the wrong side when you see it: the ink sits on top, beads, and smears when you touch it. Rather than guess every time, I write a small pencil mark on the wrapper the first time I open a pack, so I stop second-guessing which way the stack is facing. It takes ten seconds and it ends the argument with myself.
In the print dialog, set the paper type to a photo or matte presentation setting rather than plain paper, and set quality to high. Drop the print speed while you are in there. Faster passes lay down more ink than the coating can absorb, and that is exactly where wet, mottled sheets come from. I print one sheet at a time for anything that matters, because a printer pulls coated stock more reliably when it only has one sheet to grab.
Two more settings worth checking before you hit print. Turn off borderless printing unless your printer handles it cleanly on coated stock, because the overspray ends up on the roller and comes back on the next sheet. And make sure the sheet is sitting flat in the tray with no curl at the leading edge. A curled corner catches, and you get a diagonal stripe down a sheet you cannot reuse for anything but a placement test.
Step 4: Let it dry flat, then prep the blank while you wait
The sheet comes out damp. That is normal for sublimation and it is not a sign the print failed. Lay it flat, printed side up, somewhere it will not get bumped, and give it two to five minutes. Do not stack sheets on top of each other and do not roll one to save space, because the ink will transfer to whatever it touches and you will have two bad sheets instead of one.
Use the wait. Run a lint roller over the blank, both sides if it is a shirt. Every bit of lint and every stray hair becomes a white speck in the finished transfer, and once it is pressed in, it is in. If the blank has been sitting in a humid room, give it a short press of five to ten seconds before you start. That drives off moisture, which otherwise turns to steam under the sheet and leaves a blotchy patch right in the middle of your design.
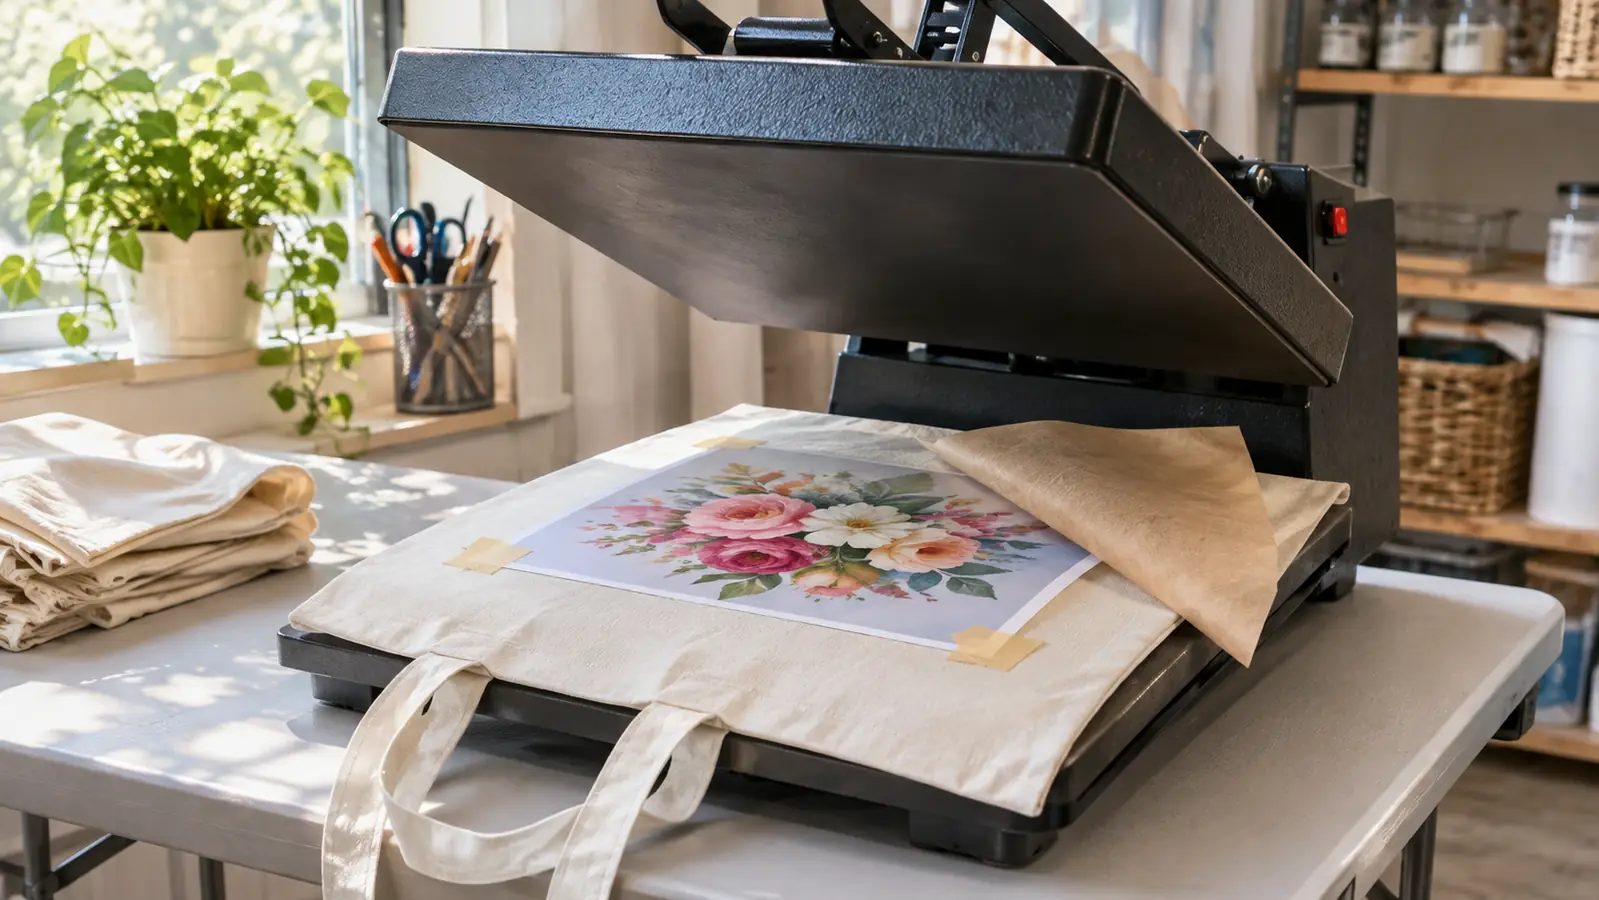
Lay out your protective sheet while you are at it. A sheet of butcher paper or a cover sheet over the top keeps ink off your upper platen. I learned that one the hard way, and I now keep a stack cut to size next to the press so there is no excuse to skip it on a busy night.
Step 5: Press it, peel it, and check it before you walk away
For polyester I run 385 to 400 degrees for about 60 seconds at light to medium pressure. Light matters. Heavy pressure flattens the fabric and can push ink outward, which gives you a halo around the edges of the design. The press should be firm enough to hold the sheet still and no firmer than that.
Tape the sheet down at two corners with heat resistant tape so it cannot shift when the press closes. Then close, wait, open. Peel while hot for most polyester and for hard blanks, and let it cool before peeling on anything that tends to wrinkle. If the sheet fights you and the design looks like it is tearing, that usually means the ink had not fully released, which points back to temperature or to a sheet that was still damp when it went under the platen.
Do not walk away with the piece still in your hand. Hold it up. Look at the finest line in the design, the smallest text, the edge of a photo. If it reads lighter than it should, a second press of 20 to 30 seconds over the same sheet can rescue it, as long as you have not peeled the sheet off yet. Once you peel, you have committed. I check every piece under the same lamp before it goes into the bag, because the light in my press room flatters everything and daylight does not.
What Else Helps
Three problems account for most of the failures I see, including my own. A ghosted or doubled image almost always means the sheet moved, so tape two corners every single time. A result that is noticeably lighter than your screen usually means too little time, too little heat, or a blank with too much cotton in it, and the order I check those in is cotton first because it is the one you cannot fix at the press. A brown or yellow scorch mark means the press is too hot, or the protective sheet has worn thin and is passing heat unevenly.
Wet or smeared prints are an ink problem, not a paper problem, and they trace back to a printer laying down more ink than coated stock can take. Slow it down, raise the quality setting, and run one sheet at a time. If the print is still wet enough to smear after five minutes of drying flat, something in that chain is off and more drying time will not save it.
Storage matters more than people expect. I keep A-SUB in its original wrapper, flat, on a shelf above floor level, and never in the same bin as my blanks. Coated paper picks up humidity and dust, and a sheet that has sat open for a month prints differently from one out of a fresh pack. In a dry climate like mine that is a mild effect. In a humid one it is the difference between a clean transfer and a speckled one, and the fix is a sealed bag and a silica packet.
Keep a log. I use a spiral notebook, one line per job: date, blank, press temperature, time, pressure setting, and one word for the result. It feels like busywork for about two weeks and then it becomes the most useful thing on the table, because the press drifts and the blanks change and memory is unreliable. A 110 sheet pack lasts me long enough that I will have forgotten what worked by the time I reach the bottom of it.
Waste is part of the process. Every pack has a sheet or two that catches wrong or prints light, and I save those for testing placement on scrap blanks. Nothing gets thrown out until it has been pressed once. That habit alone has kept me from ruining a set of matching shirts the night before a booth, which is a very specific kind of panic I would like you to avoid.
The sheet that ruined my first tote was ordinary copy paper. Same design, same ink, same press, same hands. On A-SUB it came out sharp enough that a customer read the six point line under the logo and asked how I got it that crisp.
One less variable to fight at nine at night
A-SUB Sublimation Paper, 8.5 x 11 inch, 110 coated sheets at 125g, built for sublimation ink only. Same press, same settings, fewer blanks in the scrap bin.
Amazon Check Today's Price on Amazon →