
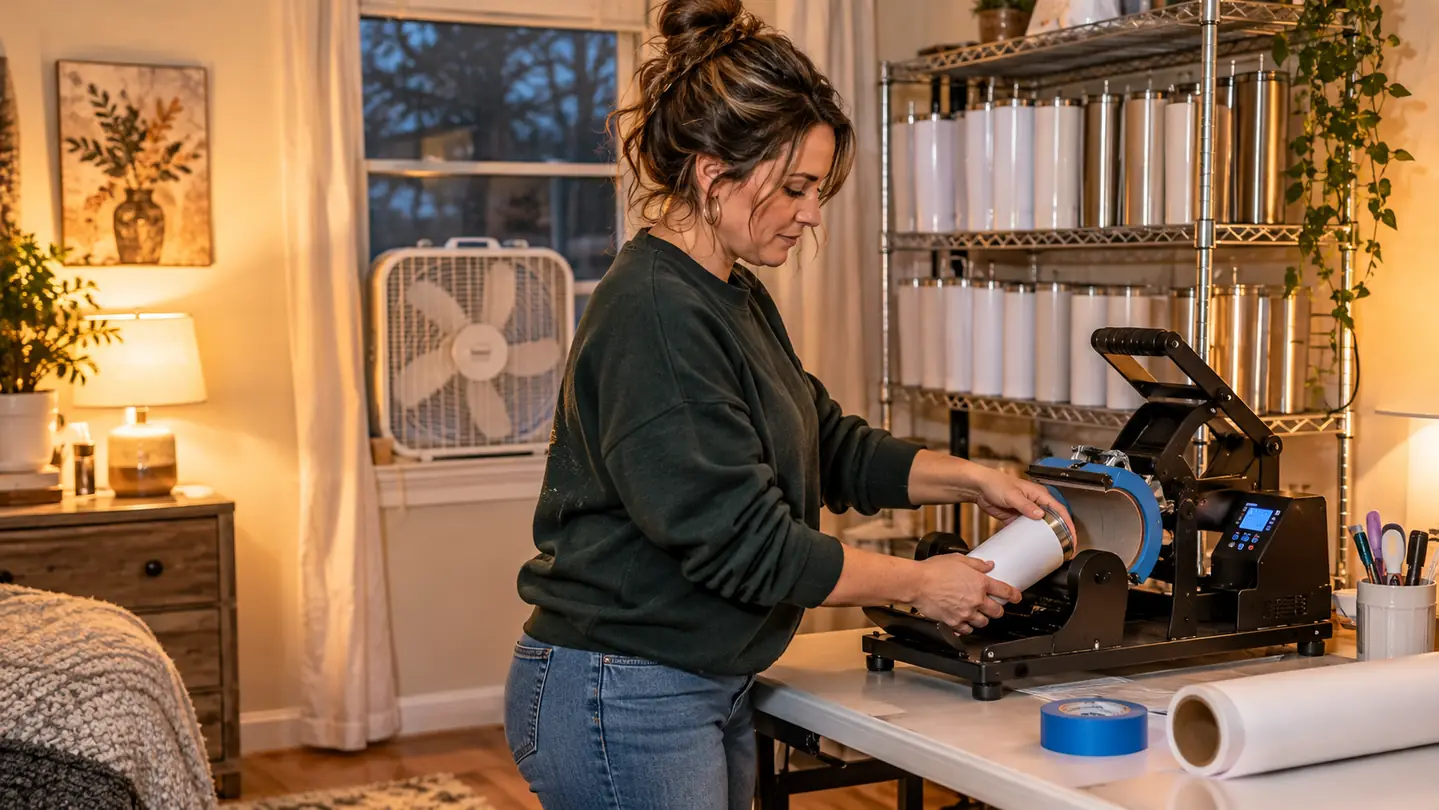
Half the tumblers in my first real batch came out with a pale band around the bottom, right where the paper had lifted. I had a press, a stack of blanks and no idea that the wrap has to stay tight against the coating for the whole press, not just until you close it. I sold two of those tumblers to a coworker because I could not make myself throw them away, and I still feel a little bad about it.
Since then I have pressed a few hundred tumblers out of the spare bedroom in my house in Albuquerque, mostly for school staff, a church festival booth and a youth soccer team that ordered the same design twice. The machine that finally made the process repeatable for me is an HTVRONT auto tumbler heat press. It holds the pad closed on its own, which leaves my hands free to keep a wrap from creeping. What follows is the sequence I run now, with the settings I actually use and the mistakes that cost me the most blanks.
The press that stopped me hand-squeezing wraps at ten o'clock at night
The HTVRONT auto tumbler heat press runs on 600 watts, fits blanks from 2.9 to 3.2 inches in diameter, and opens with the R button the moment you want out.
Amazon Check Today's Price on Amazon →Step 1: Set Up the Press and Check Your Blank
The machine is small enough to live on a folding table. It measures 12.9 by 10.9 by 6.3 inches and weighs 4.92 kg, so I can slide it to one side when I need the cutting mat space back. Give it its own outlet. It draws 600 watts at 120 volts, and I have tripped a power strip before by running it alongside a second heat source, which is the kind of thing you only do once.
Then check the blank before you print anything. The press fits tumblers from 2.9 inches to 3.2 inches in diameter and 280ml to 850ml in volume. A 30 oz blank is not going to seat properly and a skinnier one will rattle around. I keep an inexpensive caliper on the wire shelf and measure the first blank out of every new case, because suppliers change their coating and their dimensions without mentioning it to anyone.
Wipe the blank with a dry lint-free cloth and let it sit for a minute. Dust, packing lint and fingerprints all show up as dull patches under the design, and no amount of re-pressing fixes them. I keep a lint roller within reach for the same reason I keep a spare roll of heat tape: the second I have to walk across the room for something, I stop bothering with it.
Step 2: Print and Prep the Wrap
Print the design mirrored onto sublimation paper. If your artwork has small text, leave a margin and trim after printing rather than designing to the exact edge, because paper shifts by a hair as it feeds. Then let the sheet rest for a few minutes before you handle it. Ink that is still wet smears under your thumb and transfers unevenly, and you will not notice until the peel, which is far too late.
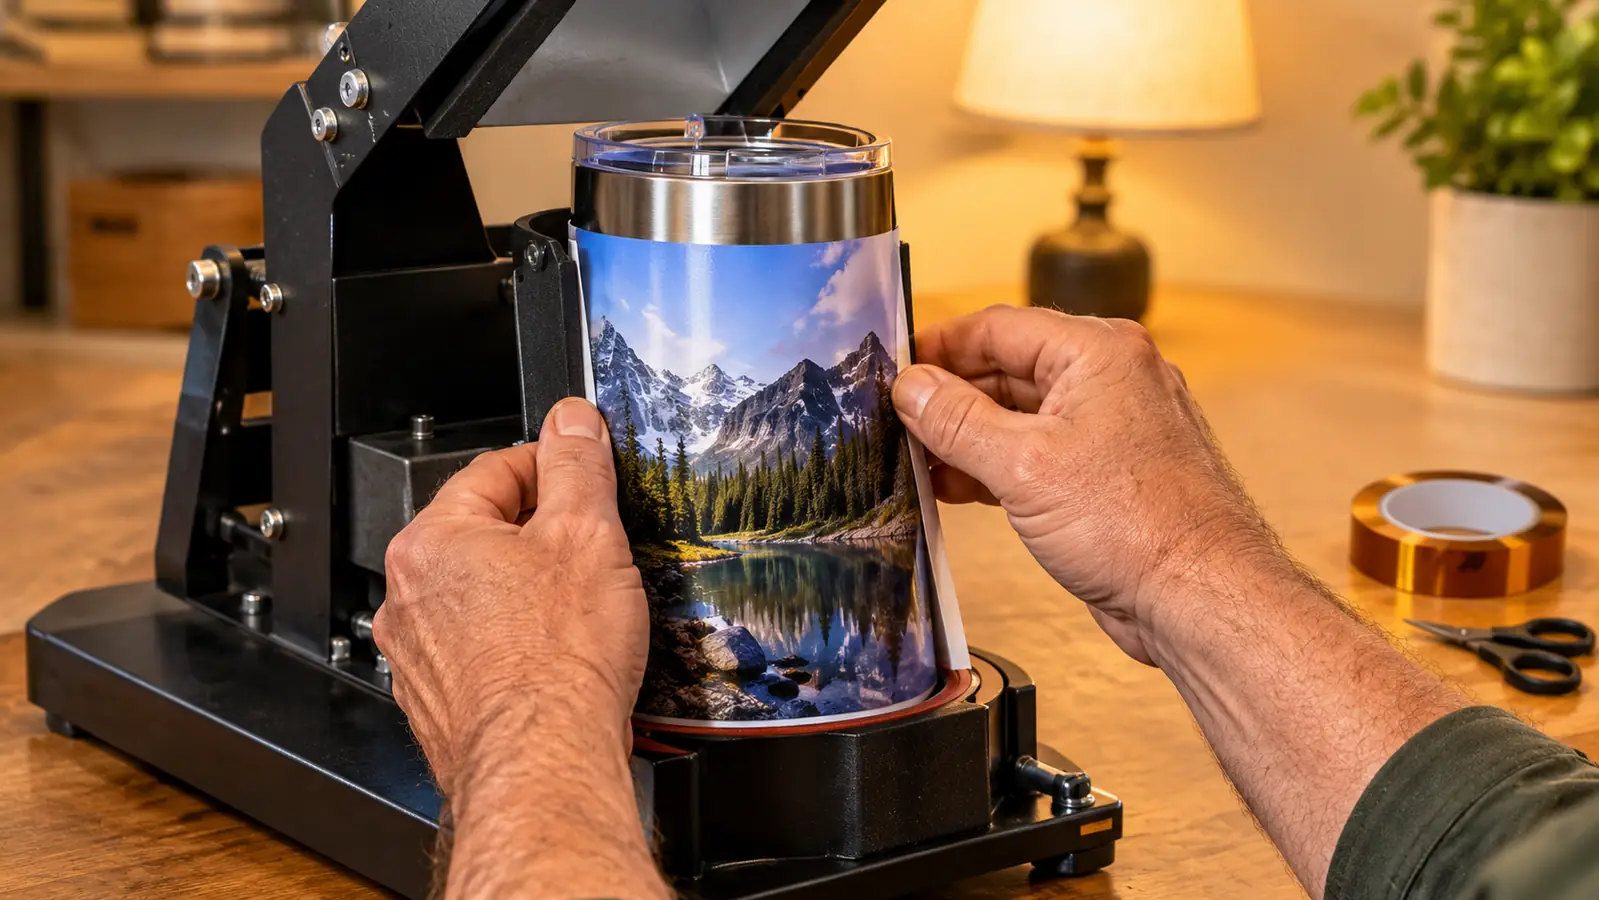
Wrap the paper around the blank dry, before any tape, and find where the two ends meet. Mark that overlap in pencil and cut it away. A wrap that overlaps itself by an inch leaves a dull, double-printed stripe down the seam, and it is always the side that ends up facing out at the craft fair. Two or three practice wraps on a blank you are willing to lose will teach you more than any tutorial, including this one.
On a tapered tumbler, cut the paper in a slight curve instead of a rectangle. Straight edges wrinkle at the narrow end and a wrinkle is the one defect you cannot press out afterward. I lay the sheet on the blank, press it down with the flat of my hand and trim to where it wants to sit, rather than forcing it to where I measured.
Step 3: Tape It Tight and Load It Straight
Tape the seam first, then the top and bottom edges. Use heat-resistant tape rather than masking tape, which lets go of its adhesive onto the coating once it gets hot. Run your thumb along every edge twice. A single loose corner is enough to let the paper lift a sixteenth of an inch, and a sixteenth of an inch is a visible pale stripe on a finished tumbler.
A wrap that lifts by a sixteenth of an inch comes out as a pale stripe. Tight paper, even pressure and a press that does not move while it works is the whole job.
Seat the tumbler so the taped seam sits against a flat part of the pad and not against the gap where the pad closes. If the seam lands on that gap, the pressure along the line is slightly lower and you get a lighter band there every single time. I check by eye, rotate a quarter turn if it looks off, and only then start the press.
The last thing I do before closing the pad is press the whole wrap down with the heel of my hand and listen. Paper that is taped correctly makes a flat, papery sound all the way around. Paper that is loose at one edge rustles. It sounds fussy written out, but it takes about four seconds and it has saved me more blanks than any tool I have bought.
Step 4: Set Temperature and Time
For the coated blanks I buy, I run 356°F. The press covers 210°F to 390°F, so there is room to go hotter if a supplier calls for it and room to back off for something thinner. Start at the low end of whatever your blank supplier recommends. A tumbler pressed too hot goes slightly glossy and slightly yellow, and there is no coming back from that once it happens.
Time is where I see people go wrong most often. I time on my phone: 60 to 90 seconds for a standard wrap on a coated 20 oz blank, longer for heavier paper or a full-wrap design with a lot of dense color. More is not automatically better. Past roughly two minutes on a thin wrap, the design starts to lose contrast and the coating can blister around the base.
Press one test blank before you commit a batch. Use a small design you do not care about, peel it, and look at it under the kitchen light rather than the lamp over the press. Muddy color means a little more time. Soft edges usually mean the paper was not tight at the seam, not that the press was too cool, and adding heat to a loose wrap only makes the stripe wider.
Step 5: Press, Release and Peel
Close the pad and let the machine hold it. This is the part that turned tumbler orders from a chore into something I can do while the kettle boils. On my old setup I squeezed a hand press for two minutes per tumbler, and by the tenth one my grip had gone soft, which meant my results had gone soft too. The HTVRONT holds the same pressure on tumbler one and tumbler twenty.
When the time is up, press the R button. It halts heating and releases the heat pad instantly, which matters more than it sounds. If a wrap starts to shift, or you smell something you do not like, you want out right then and not after a cooling cycle. I have hit that button in a genuine hurry twice and both times it saved the tumbler.
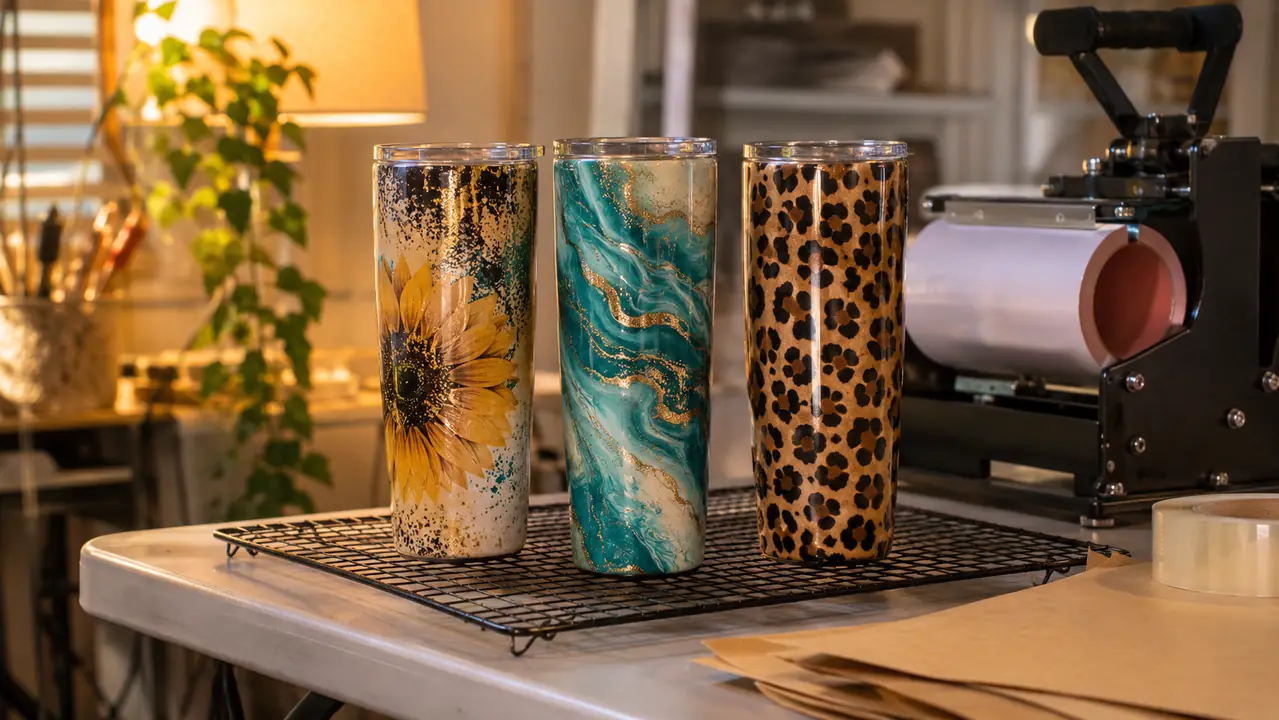
Peel while the tumbler is still warm, working from the seam outward and keeping the paper flat as it comes away. Then set it on a wire rack for at least ten minutes before you handle it, bag it or stack anything on top of it. Warm coating scratches if you look at it wrong, and a scuff along the bottom rim is the sort of thing a buyer spots before you do.
Troubleshooting: Faded, Blistered or Blurry
If the color comes out washed out and pale across the entire design, the press was too cool, the time was too short, or the paper was not sublimation paper. Check the paper first, because that is the mistake nobody admits to. Copy paper prints beautifully and transfers almost nothing, and the resulting tumbler looks exactly like an under-pressed one.
If the design is crisp on one side and faded on the other, the wrap was not even. That comes from taping one edge and assuming the other edge is fine. It also comes from a tapered blank with straight-cut paper, which bunches on the narrow end and lifts everywhere else. Re-wrap it, tape all three edges and try again on a fresh blank.
If the coating looks cloudy or blistered, you were too hot. Back the temperature down by 10 to 15 degrees, keep the time where it is and run another test. Blistering near the base usually means the tumbler sat against the pad unevenly, so check that it is seated straight and that the seam is not riding the closing gap.
The Three Mistakes That Cost Me the Most Blanks
The first was pressing over a damp blank. I wiped one with a wet cloth, got impatient and loaded it anyway. The design came out cloudy across a third of the surface and no amount of re-pressing brought it back. Now I wipe with a dry microfiber, give it five minutes, and I keep the damp cloths on the other side of the room so I am not tempted.
The second was taping the seam and stopping there. On a tapered blank the top edge lifted and the design washed out along the rim, which is exactly where everybody looks first. Tape all three edges, every time, even when you are in a hurry. Especially when you are in a hurry, because that is when I have done it.
The third was stacking finished tumblers. Four of them went into a box still warm, ten minutes off the press, and every one came out with scuffed coating. A wire rack is not optional if you are doing volume. I have two now, plus a third that is really just a cooling rack borrowed from the kitchen and never returned.
What Else Helps
Work in batches of five or six and build a rhythm: one blank loading while another presses, a third cooling on the rack. The HTVRONT sits there and does the waiting, so a batch of six moves faster than doing the same six one at a time between other tasks, and the results are more consistent because my hands repeat the same motion instead of relearning it each time.
Keep a log. Temperature, time, blank brand, wrap type and one line about how it came out. After a month you will know your own numbers better than any forum thread, and when a supplier quietly changes their coating you will catch it on one tumbler instead of twelve. I keep a note taped inside the press cabinet with my defaults, because I forget them every time I switch from shirts back to tumblers.
One more thing, because I am stubborn and I tested it: I ran the oven and shrink wrap method side by side with this press for a month. The oven works and it does more tumblers at once, but the wrap slips on a tapered blank and you cannot see it happening behind the door. For a one-off gift I still use the oven. For anything I am selling, the press wins on repeatability.
Set the temperature, tape all three edges, and press one blank you do not care about
That single test tells you more than a dozen videos. The HTVRONT auto tumbler press handles the pressure and the instant release so you can stand there and watch the wrap.
Amazon Check Today's Price on Amazon →